Eyeon:Manual/Timeline/Timeline Filters
From VFXPedia
Contents |
Timeline Filters
Flows with many tools can quickly become difficult to visualize in the timeline. Timeline filters can now be applied to filter out the display of tools that are not necessary to the current operation. Use pre-made timeline filters, or create new ones as needed, in the timeline preferences.
Applying Filters
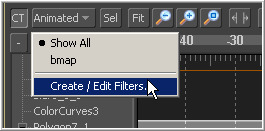
To apply a timeline filter, select the Filters button above the tree in the timeline view, as shown below.
All of the available filters will be shown at the bottom of the menu that appears. Select the desired filter from the list to apply it to the timeline.
Creating Filters
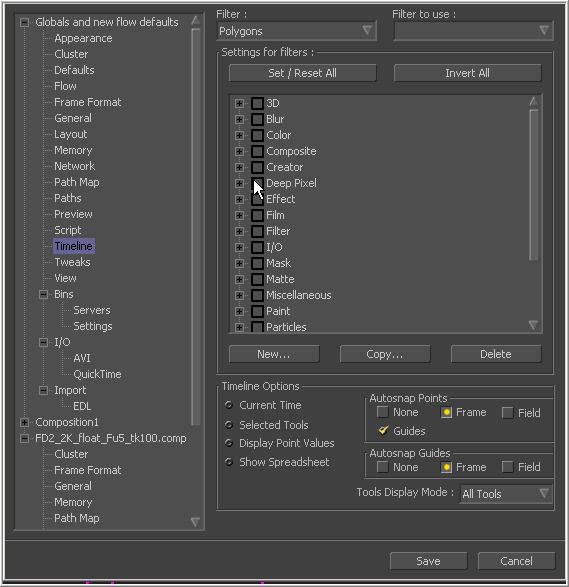
Open the preferences dialog (File>Preferences) and select Timeline in the options tree on the left. This will display the dialog shown below.
Click on the New button to create a new filter. Provide a name for the filter in the dialog box that appears. New filters will default to having all tools enabled for display in the timeline.
Configuring Filters
Use the checkboxes in the tool tree to enable or disable the display of specific tool types and tool categories in a filter.
The Invert Categories and All Categories On/Off buttons can apply global changes to all of the checkboxes, toggling the selected states as described.
When the filter is configured, select the Save button to close the preferences dialog.
Removing Filters
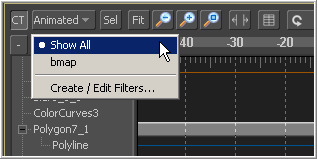
To disable the currently applied filter, select the Show All filter from the Tools button in the timeline. To permanently remove a filter, use the Delete button in the timeline preferences dialog when the filter is selected.
Timeline.def
Timeline filters that are created are stored on disk in the file timeline.def, found in the directory where Fusion.exe is located. This file can be copied from one system to another to maintain settings on a new installation.


