Eyeon:Manual/Fusion 6/3D/Bump Mapping
From VFXPedia
[ Main Manual Page ]
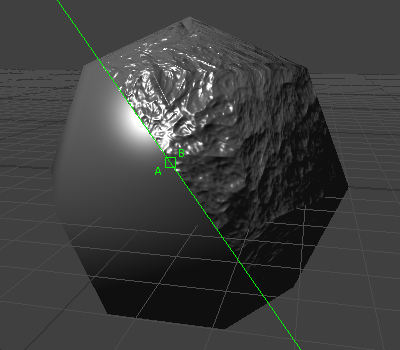
Bump mapping helps to add details and small structures to the object using textures. Bump Mapping is a lighting effect only - it does not modify the geometry of the object or change its silhouette. Bumpmapping requires lighting be on for it to work (as it is a lighting effect) and there must be a lighting model. Bumpmapped reflections/refractions do not require lighting to be on.
Bump maps can be applied to materials and objects using the BumpMap tool. Typically an image containing the bump information is connected to the Bumpmap tool, and this one is connected to the bump input of an illumination model or another material node. There are two ways how to create a bump map for a 3D (material) tool:
Using a height map
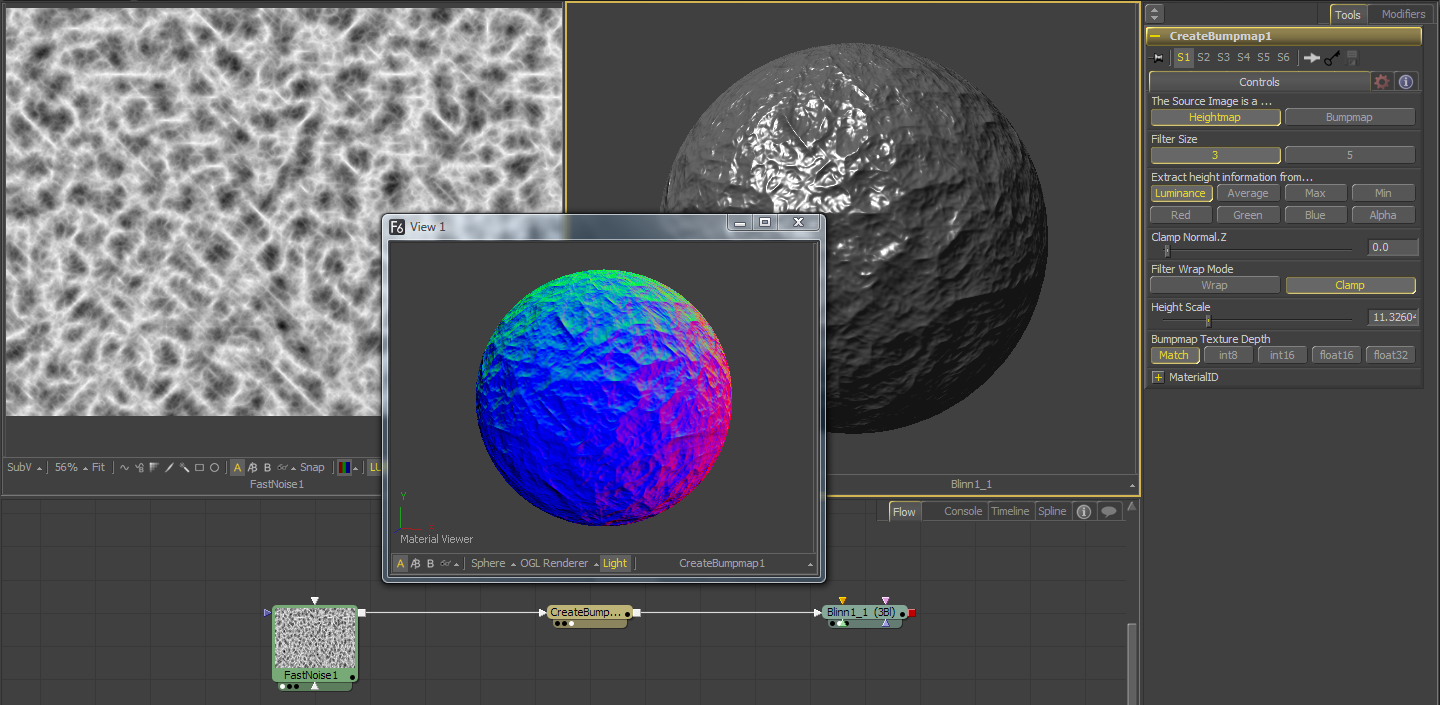
A heightmap is an image where the color value of a pixel represents the height value. It is possible to select which color channel is used for bump creation. White means "high", black means "low", however it is not the luminosity of a pixel in the heightmap that determines the bumpiness but rather how the luminosity changes in the neighbourhood of a pixel. This is why you need to set the scale or detail high on a Fast Noise tool for example in order for it to produce bumpiness since there is not enough variation from pixel to pixel.
Using a bump map
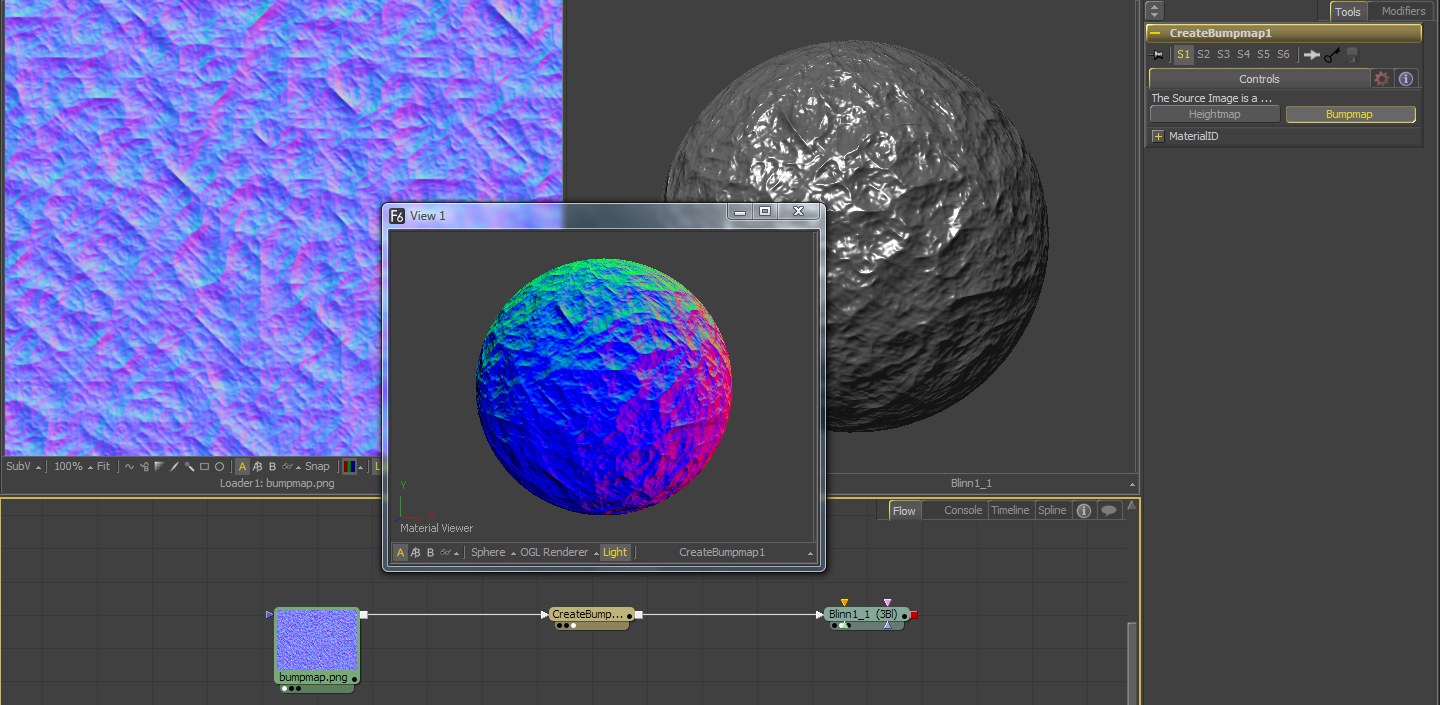
A bump map is an image containing normals stored in the RGB channels used for modifying the normals of the geometry. Typically bumpmaps you author from other 3D applications or image processing software are int8. Normals are 3 float values (nx, ny, nz) whose components are in the range [-1, +1]. Because you can store only 0..255 or [0.0, 1.0] in a int8 image, the normals are compressed/packed from the range [-1, +1] to the range [0, 1] by multiplying by 0.5 and adding 0.5. Compressed/packed and uncompressed/unpacked are terminology used when dealing with bumpmaps. You can use a Custom Tool to do the decompression/compression. When moving from color to normal you want to do (nx, ny, nz) = (2*r-1, 2*g-1, 2*b-1). When moving from normal to color you want to do (r, g, b) = (0.5*nx+0.5, 0.5*ny+0.5, 0.5*nz+0.5). The Create Bumpmap tool expects a compressed bump map. Connecting a bump map directly to the bump input of a material will result in incorrect lighting. Fusion uses a different coordinate system for doing the lighting calculation. The Create Bumpmap tool will do the conversion of the bump map to work correctly.
- Make sure you have the tools connected correctly. The heightmap/bumpmap should feed into a CreateBumpmap tool and then in turn should feed into the Bumpmap input on a lighting model tool.
- Check that the original image has enough detail/contrast - smoothly varying heightmaps like a default Fast Noise don't have enough variation from pixel to pixel to visibly affect the per-pixel normals
- Change the color depth of the heightmap to get better normals. You can also play with the Bumpmap Texture Depth options on the Create Bumpmap tool itself.
- Play with the height scale on the bumpmap tool. If you are feeding it a black and white image like Text+ then a heightscale of 1 works and a heightscale of 50.0 makes it look horrible. If you are feeding it a Fast Noise then you may want to jack up the heightscale to 50 to get the bumpyness.
- Make sure if you are feeding the Bump tool a heightmap it's set to heightmap, and if you're feeding it a bumpmap it's set to bumpmap.
- Check if HiQ is on/off. Some Fusion tools like Text+ produce an antialiased version in HiQ that will substantially improve bumpmap quality.
The Export Bumpmap tool
The Create Bumpmap tool helps to convert a heightmap into a bumpmap. This is a 2D tool, and does this conversion only. The output will be an image, BumpMap produces a 3D material. This allows you to manipulate the bumpmap with Fusions image processing tools. When you are done, use the Create Bumpmap tool in Bumpmap mode, to connect it to material nodes.
| The contents of this page are copyright by eyeon Software. |


