Settings and Macros/DepthDefocus Description
From VFXPedia
[ Main Manual Page ]
- Other macro tools in this category:
- [DepthDefocus]
- [DirectionalBlurFromPathGamma]
- [EllipticalBlur]
- [MotionVectorsCorrection]
| DepthDefocus_v07-4 | Download |
Creates the depth of field effect using an additional image as a depth map.
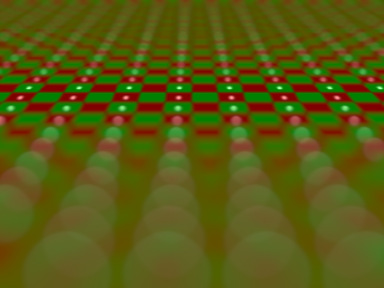
This tool features fine tuning for the amount of highlight blooming, natural-looking and easily controllable deceleration of defocusing with distance, separate foreground/background strength control, a possibility to select any image channel as the depth map.
The channel used as the depth map should be 32 bit float. For correct perspective adjustment of the strength, you must make sure that the depth channel has no negative values
Node Inputs
- Input

- Source image. Required.
- Depth Map

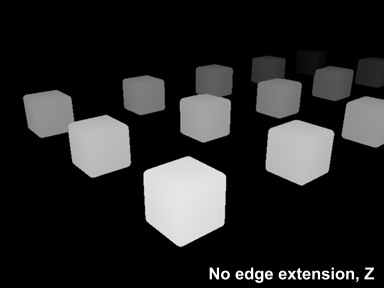
- Image indicating distance from the camera. The brighter are pixels the closer they are. Darker pixels are farther from the camera. The map has to have a float point color depth. Required.
- EffectMask

- Defines the areas where the effect is applied. Optional.
Controls Tab
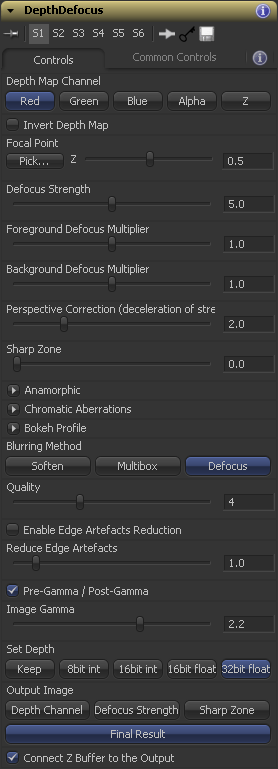
- Depth Map Channel
- Multi-button control. Selects a channel to use as the depth map
- Invert Depth Map
- Checkbox control. Leave it unchecked if your depth channel presents the distance from the camera as positive values (V-Ray). Check it if you are using Fusion's or Mentalray's depth
- Focal Point
- Color control. Pick an object that should be in focus or enter numerically the depth for the focal point. The picker should be used on the resulting image
- Defocus Strength
- Slider control. The general amount of the effect
- Foreground Defocus Multiplier, Background Defocus Multiplier
- Slider controls. Adjust the strength of defocus for the objects in front and behind the focal point separately
- Perspective Correction
- Slider control. Makes the strength of defocus exponentially decrease with distance, like in the real-world
If the parameter is set to 1, the bokeh size increases linearly with depth values.
If Perspective Correction is more than 1, defocus size increases less with depth which is physically correct.
- Sharp Zone
- Slider control. Makes the objects, which are close to the focusing point in terms of distance from the camera (Z view coordinate), appear sharper. Overall defocusing amount also decreases, which can be compensated by increasing the Defocus Strength value.
- Anamorphic
- Group of controls. Adjusts the vertical and horizontal defocus size independently
- Chromatic Aberrations
- Group of controls. Lets you simulate the axial (longitudinal) chromatic aberrations and adjust the defocusing strength of individual Red, Green and Blue channels independently
- Bokeh Profile
- Group of controls. Allows non-flat profile of the bokeh from its center to the peripherals. With these controls you can introduce edgy bokeh or even wavy bokeh of a poor zoom lens
- Quality
- Slider control. Precision of the blurring algorithm
- Enable Edge Artefacts Reduction
- Checkbox control. Reduces artefacts on the edges, shared by objects with significantly different distances. This is done by means of internal blurring of the depth map in the areas distant from the focusing point
- Reduce Edge Artefacts
- Slider control. The amount of blurring of the distant areas of the depth map
- Pre-Gamma / Post-Gamma
- Checkbox control. Switches gamma treatment for sRGB images on and off, you can also use it to exaggerate the highlight bokeh (blooming)
- Image Gamma
- Slider control. Adjusts the blooming effect. Start from 2.2 for sRGB images
- Set Depth
- Multi-button control. Sets the color depth. It's recommended to use 32bit float with Pre-Gamma / Post-Gamma switched on.
- Output Image
- Multi-button control. Lets you choose to preview the actual depth channel in use, defocusing strength map or the sharp zone instead of the final result
- Connect Z Buffer to the Output
- Checkbox control. Attaches the Z Channel to the output image
Tips
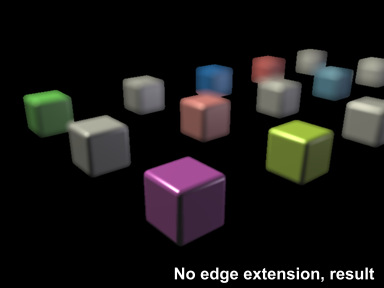
- To avoid artifacts on the edges of overlapping objects, which are situated at significantly different distances from the camera and thus, get significantly different amount of defocus, you should render such objects into separate layers in your 3D software. The layers should be merged together in Fusion after defocusing.
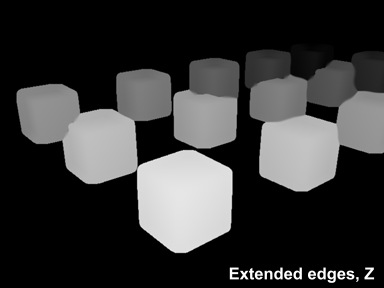
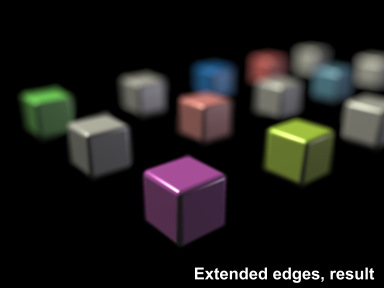
- If you are defocusing a layer with objects on transparent background, you need to expand the edges of the objects in the depth channel so that it fills all the areas covered with the effect. For this purpose, you can use another macro: ExtendEdges_v01
- With some additional tools, you can simulate the effect of astigmatism, which makes the peripheral bokeh look like ellipses instead of circles.
- In the real camera it's noticeable when you shoot with the aperture wide open, because the light which gets into the corners of the image, passes through the aperture at a sharper angle and for such rays the aperture is not a circle, but rather an ellipse.
- To introduce this effect, first add a Crop to both the Image and the Depth to extend the canvas size, then apply a LensDistort in the Undistort mode to both the Image and the Depth to add a pin-cushion distortion, then apply the DepthDefocus tool to the distorted image using distorted depth. Place a copy of the LensDistort right after the DepthDefocus node, switch it to the Distort mode, crop the image according to the source format.
Depth_Defocus_Macro_v01-1.mov - a demo movie
Depth_Defocus_Macro_v04_Example.comp - an example of using the DepthDefocus macro
Download DepthDefocus_v04-2 (for Fusion 6.2 and below)
Development History and Discussion on PigsFly
To install the macro, place the downloaded DepthDefocus_v07-4.setting file to your Fusion:\Macros folder.
Then you can insert it to the Flow either choosing from the main menu: Tools>Macro or by pressing Ctrl+Space and typing the tool name.
www.compositing.ru
