Eyeon:Manual/Spline Editor/Working With Splines
From VFXPedia
Contents |
Working With Splines
Renaming Splines
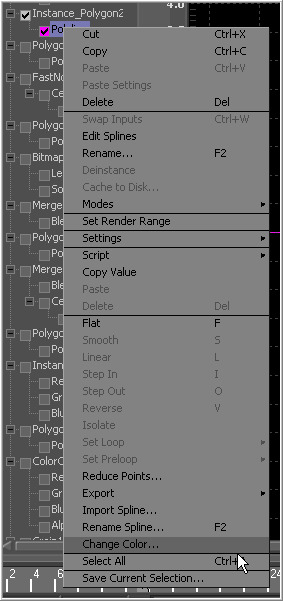
The default name for a spline is the name of the control it animates. It may be useful to assign more descriptive names to a spline, especially if a composition is shared between several artists. Right-click on the name of the spline in the tree menu and select Rename Spline from the context menu.
Show All Inputs
Selecting this option will show all inputs on all tools, regardless of whether they are animated or not. This mode can get very slow with large compositions. It is handy when animating a bunch of controls quickly, since adding a point to the flat curve for any control will automatically animate the control with a bezier spline.
Changing Spline Colors
Each spline in the graph view is assigned a different color so that it is easier to identify when many splines are visible at once. When the spline is active, the checkbox in the tree view will also be drawn in the same color as the spline.
To change the color of the spline, right-click on the name of the spline in the tree menu and select Change Color from the context menu.
Select the new color from the dialog box that appears and click OK.
Selection Groups
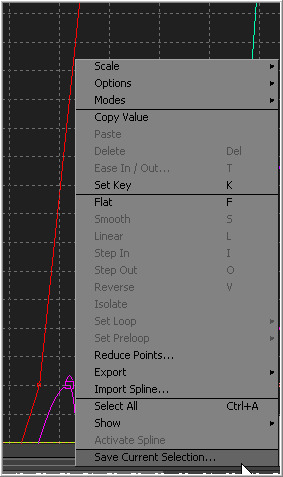
It is possible to save the current selection state of the splines in the tree, making selection groups that can easily be reapplied when needed. To create a selection group, open the spline's context menu and choose Save Current Selection. A dialog will appear to name the new selection.
To reapply the selection group, choose the selection group by name from the Set Selection menu in the context menu. Other context menu options will allow selection groups to be renamed or deleted.


