Eyeon:Manual/Fusion 6/Interface Overview/Spline Editor/Introduction
From VFXPedia
[ Main Manual Page ]
- Introduction
- Creating and Removing Animation Splines
- Interface Overview
- Context Menus
- Navigating
- Displaying Splines
- Working With Splines
- Working With Keyframes
- Filtering
- Time and Value Editors
- Looping Splines
- Reversing Splines
- Time Stretching
- Shape Box
- Ease In and Out
- Reducing Points
- Guides
- Autosnap
- Importing and Exporting Splines
- Additional Spline Options
- Tool Splines
Contents |
The Spline Editor
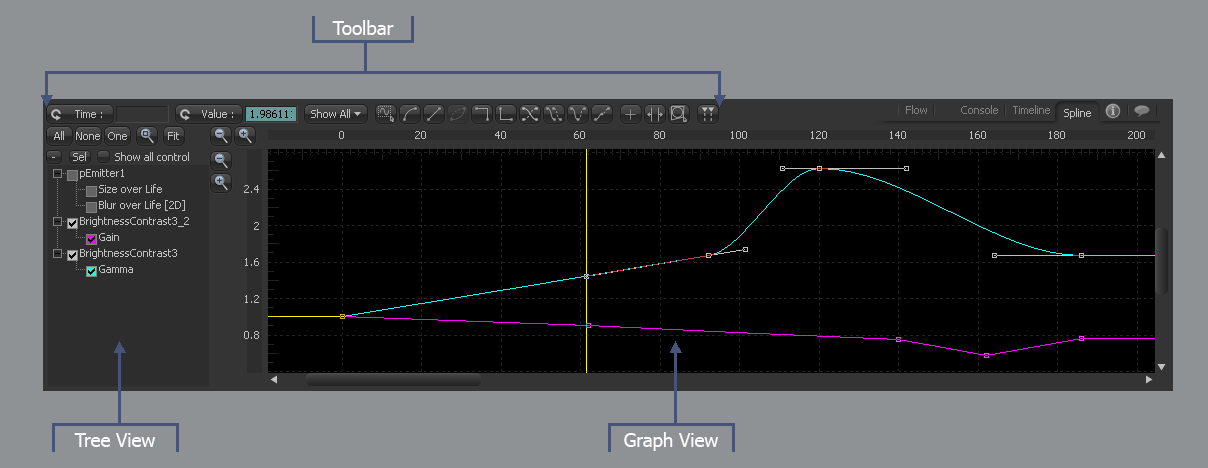
The Spline Editor is where the animation of various controls is manipulated in Fusion. All animated controls are connected to a spline curve, as described below. One or more splines can be displayed in the editor for adjustment.
What Are Splines?
All animation in Fusion is controlled by splines; mathematical curves that describe the value of a control at any given point in time. Splines are represented on a graph, with time as one axis and the value of the control as the other.
The advantage of using splines to represent animation is that splines do not require a value to be set for each and every frame of a project. For example, if a value of 1.0 is set on a control at frame 1, followed by a value of 10.0 at frame 10, the animation spline would automatically apply a value of 2.0 at frame 2, a value of 3.0 at frame 3, and so on.
The values explicitly specified are known as keyframes. The values between keyframes are smoothly interpolated or calculated based on the shape of the spline.
| The contents of this page are copyright by eyeon Software. |

