Eyeon:Manual/Tool Controls/Tool Controls Interface
From VFXPedia
The Controls Area Interface
Maximizing The Control Area
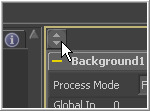
A small button labelled with a pair of arrows can be found at the top of the controls area to the left of the tabs. Click on this button to toggle the Control Area between maximized and regular modes.
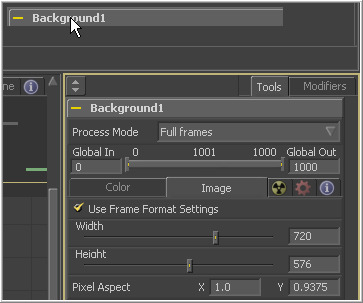
In maximized mode, the tool controls are aligned with the top of the window, taking up the maximum available height for the display of controls.
In regular mode, the tool controls are aligned with the bottom of the display views, making the best possible use of horizontal space for the display views.
Viewing The Control Window For A Tool
To open a tool's controls, select the tool from the flow, timeline tree or spline editor tree. If multiple tools are selected, the control windows for all selected tools will appear.
Hiding The Control Window For A Tool
The control window for a tool can be hidden from display so that the controls never appear, even if the tool is selected.
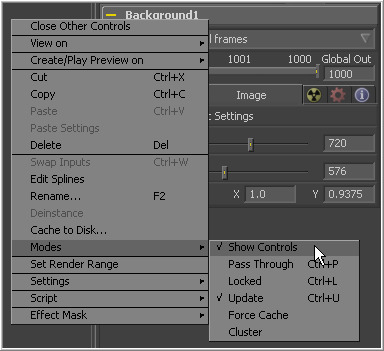
To hide a control window for a tool, right-click on that tool in the flow, or on the control header, and de-select Modes>Show Controls.
To re-enable the display of the control window for a tool, right-click on the tool's tile in the flow and re-select Modes>Show Controls.
Control Area Display Preferences
There are two different ways to display a tool's controls. The default option shows only the control windows for the selected tools. The alternate option shows the controls for all tools in the control window at once.
To switch to this mode, select File>Preferences from the menu and open the General Preferences. The following options are available.
- Auto Control Close
- When the Auto Control Close option is enabled, the control window for the selected tool is the only open window. Every other control window is automatically closed whenever a new tool is selected.
- Auto Control Hide
- When the Auto Control Hide option is enabled, the only control window visible is the one for the currently selected tools. All other control windows are hidden to reduce clutter. This is enabled by default. Turn it off to see all tool controls at once.
Selecting A Tool With The Control Header
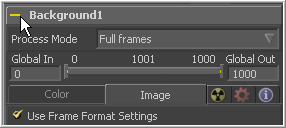
A tool becomes the active tool when the tool's control header is clicked. Any onscreen controls for that tool will be displayed in the views that contain an image. This is exactly the same as clicking on a tool in the flow to select it. When a tool is the actively selected tool, its control header changes color.
Viewing And Previewing A Tool With The Control Header
To view a tool in one of the display views, click-drag the tool's control header into one of the display views. To make a preview in one of the display views, hold the Alt key while dragging the tool header into the view.
Viewing A Tool's Splines With The Control Header
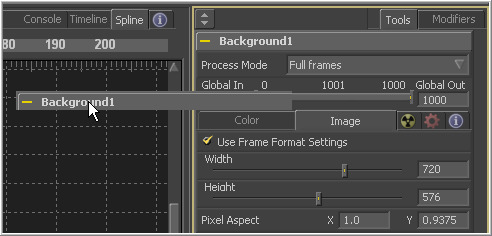
To view all of the animated parameters associated with a tool, drag and drop the tool into the spline editor. The splines attached to the tool (if any) will automatically be selected and displayed for editing.
