Eyeon:Manual/Fusion 6/Interface Overview/Flow Editor/Viewing, Scaling and Panning the Flow
From VFXPedia
[ Main Manual Page ]
- Flow Overview
- Viewing, Scaling and Panning the Flow
- Context Menus
- Adding Tools
- Connecting and Disconnecting Tools
- Inserting Tools
- Replacing Tools
- Deleting Tools
- Connection Types
- Moving Tools and Organizing the Flow
- Groups
- Displaying Tile Pictures
- Viewing Tools
- Tooltips and the Status Bar
- Copying and Pasting Tools
- Instancing Tools
- Finding Tools
- Macro Tools
- Flow Options
- Tool Context Menu
- Tool Tile Color Coding and Icons
Contents |
Viewing, Scaling And Panning The Flow
Displaying The Flow
The Flow Editor is displayed by default whenever a new flow is created or when an existing flow is opened. Since the Flow Editor shares the same space in the interface used by the Spline Editor, Timeline Editor and Console, switch between these views as needed.
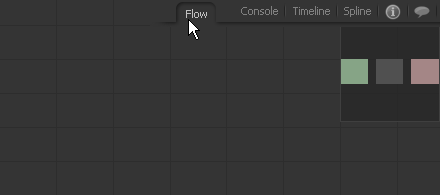
To display the flow when it is not currently visible, either select the Flow tab from the tabs at the top of the work area or press the F5 key on the keyboard. When the flow is the active area of the interface, it will be surrounded by a yellow border.
Resizing The Flow
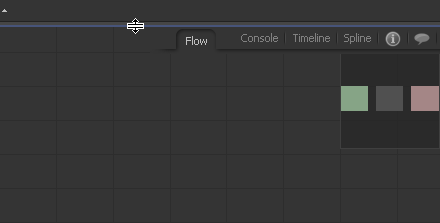
To resize the flow, place the mouse over the edge of the raised border between the display view and the flow. Click and drag on this boundary to adjust the size allocated to the display view and the flow editor respectively.
To maximize or minimize the flow, place the mouse pointer over any part of the flow and hit the F4 key once. This will expand the flow to cover the display views or return a maximized flow editor to its original state. A maximized flow takes over all of the space used by the display views.
Panning The Flow
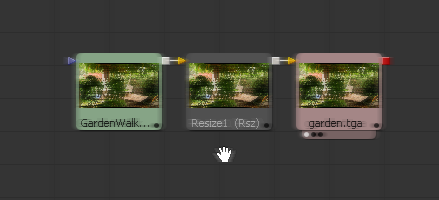
To pan the view of the flow, hold the middle mouse button down and drag in the desired pan direction, or click-drag on the standard scrollbars at the right and left sides of the flow.
If the mouse does not have a middle mouse button, hold the Ctrl-Shift keys down while clicking the left mouse button. This will have the same effect as holding down the middle mouse button.
If a tool that is selected is not visible in the flow or in any other part of the Fusion interface, the display will automatically pan the view to show that tool's tile in one of the four corners of the visible area.
Click-drag in the displayed flow navigator to change what portion of the flow is visible. See below for more information on the navigator.
Scaling The Flow
The default scale used by a new flow can be set in File>Preferences>Flow. To adjust the scale used by the flow, use one of the following methods:
- Mouse Drag
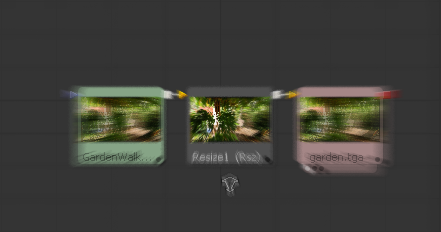
- Place the mouse pointer over the flow and hold the middle and left mouse buttons down while dragging the mouse to the left and right to scale smoothly in and out.
- Mouse Click
- Place the mouse pointer over the flow and hold down the middle mouse button. While holding down the middle mouse button, click on the left mouse button to increase the scale, or the right button to decrease the scale of the flow by a fixed amount.
- Keyboard
- To change the scale by a fixed value, press the + or - keys on the numeric keypad while the flow is active. Ctrl-1 will set the flow back to its default of 100% scale. Ctrl-F will fit the flow into the visible region.


