Eyeon:Manual/Fusion 6/3D and Material Viewer
From VFXPedia
[ Main Manual Page ]
3D Viewer
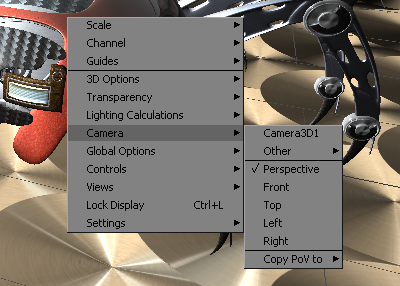
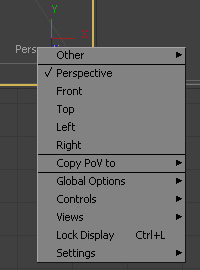
Viewing a tool with a 3D output in any display view will switch the display type to a 3D view. Initially the contents of the scene will be displayed through a default perspective view. To change the viewpoint right click in the view and select the desired viewpoint from the ones listed in the Camera sub-menu. A shortcut to the camera sub-menu is to right click on the axis label displayed in the bottom left or right corner of the display view.
In addition to the usual perspective, front, top, left, right viewpoints, the camera sub-menu will also display all of the cameras and lights present in the scene as potential viewpoints. It is even possible to display the scene from the viewpoint of the geometry by selecting it from the context menu's Camera -> Other sub-menu.
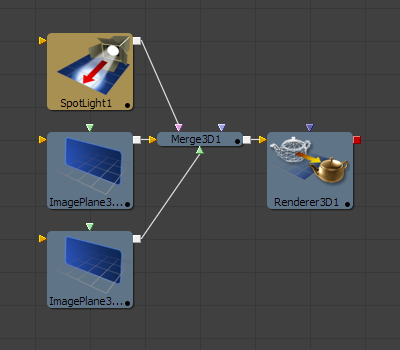
The view can't be switched to a viewpoint which is not present in the displayed tool's 3D output. Consider the flow in the image below. Two image planes and a spotlight tool are combined in a single merge tool, which then connects to a renderer. Viewing either image plane in a view will show only the image plane generated by that tool. Viewing the merge will show both image planes.
For a detailed description of the options available in the 3D Viewer, please see the 3D View section of the Display Views chapter.
Navigating The 3D View
For the most part panning and scaling of the 3D display view uses the same controls as the 2D view. To pan, hold the middle mouse button and drag the mouse. To dolly (zoom) the view, hold the middle and left mouse buttons and drag the pointer to the left or right. Holding down CTRL while spinning the scroll wheel will also dolly the camera.
It is also possible to rotate around the view by holding down the Alt key and the middle mouse button and dragging the mouse pointer to the left and right.
There are also some useful hotkeys for navigating:
- A - Fit all objects in the view
- F - Fit to selection (or fit all if nothing is selected)
- C - Rotates the view to look at the center of the currently selected object but doesn't moving the view's position
Furthermore, as of Fusion 6, selecting a 3D tool in the flow area now also selects the associated object in the 3D views. You can select a 3D tool in the flow, activate the 3D view (using the middle mouse button) and hit F to fit the view on the selected object.
Transforming With The Views
When the display view is set to look through an object in the scene, like a camera or spotlight, the usual controls for panning and rotating the view will now directly affect the position of the object.
For example, to adjust the camera position when looking through the camera, placing the mouse in the view with a middle and left mouse buttons drag will dolly the camera.
It is even possible to view the scene from the perspective of geometry like image planes and shapes by selecting the object from the Camera -> Others menu. The same transformation techniques will then move the position of the object.
Transparency Sorting
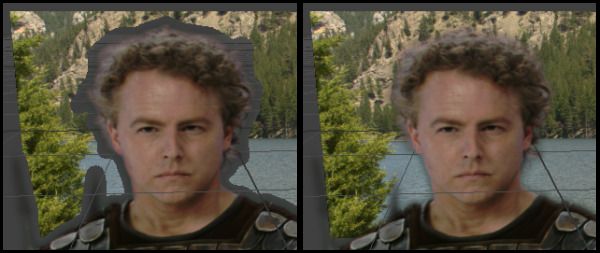
While generally the order of geometry in a 3D scene is determined by their Z-position, sorting every face of every object in a large scene can take an enormous amount of time. To provide the best possible performance Fusion defaults to using a fast sorting mode in the OpenGL and interactive displays. The fast sorting mode uses the order of the inputs connected to the Merge 3D to determine the sort order for all objects except the one closest to the viewer. While this approach is much faster than a full sort, when objects in the scene are partially transparent it can also produce incorrect results.
The Sorted (accurate) mode can be used to perform a more accurate sort at the expense of performance. This mode is toggled using the Fast button in the display toolbar, or from the Transparency menu of the views context menu. The Renderer 3D tool also presents a Transparency menu when the Renderer Type is set to OpenGL.
The Software renderer type will always use the slower and more accurate method.
The basic rule is when a scene contains transparency, use the Full/Quick Sort mode, otherwise use the Z Buffer. If the Full sort method is too slow, try switching back to Z buffer.
Material Viewer
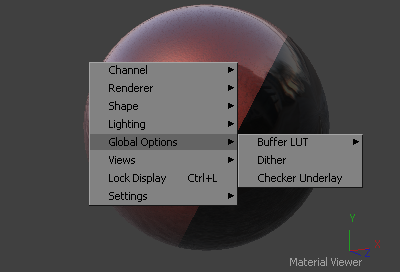
Viewing a tool which outputs a 3D Material in a display view will switch the display type to a Material viewer. The default state for this view shows the material applied to a lit 3D sphere rendered with OpenGL. The type of geometry, the renderer, and the state of the lighting can all be adjusted from either the the display view toolbar, or the context menu. Each view presents an A and B buffer to assist with comparing multiple materials.
The geometry which the material is applied to is locked to the center of the view and scaled to fit. It is not possible to pan or scale the Material viewer. The view can be rotated on a single axis to provide a different angle on the material. Hold down the Alt key and the middle mouse button and dragging the mouse pointer to the left and right.
The position of the light can be adjusted by clicking and dragging in the view with the middle mouse button held down. Light can also be toggled on and off using the display view toolbar button.
For more information on the Material Viewer refer to the Display View chapter of this manual.
| The contents of this page are copyright by eyeon Software. |
