Eyeon:Manual/Spline Editor/Working With Keyframes
From VFXPedia
Contents |
Working With Keyframes
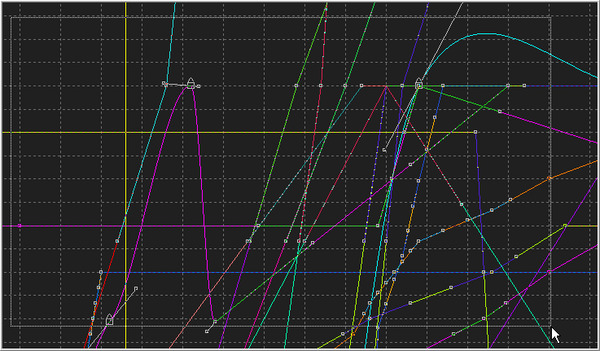
Once a spline is displayed in the graph view and enabled for editing, the spline's Keyframes (and thus the animation) can be manipulated in a variety of ways.
Selecting Keyframes
To select keyframes on a visible spline, click directly on the keyframe, or click-drag a small rectangle around the keyframe.
To select multiple keyframes, click-draw a rectangle that encloses all of the keyframes to be selected.
To add or remove a keyframe from the current selection, hold Ctrl down while selecting the points. This will remove the currently selected keyframe and add unselected points to the selection.
Use the Ctrl-A shortcut or choose Select All from the spline editor's context menu to select all keyframes from the active splines.
Moving Keyframes
Keyframes can be moved with the mouse, keyboard or the edit point controls. A keyframe cannot be made to overlap an existing point. If a key exists at frame 2 and frame 5, the key at frame 5 cannot be moved to frame 1.
- With The Mouse
- Click-drag the selected keyframe to its new position in the spline. If more than one point is selected, all selected points will be moved with the one selected.
- Hold the Alt key down before dragging the point to constrain its motion to a single axis.
- With The Keyboard
- Use the cursor keys to move selected keyframes by small fixed amounts. The left and right cursor keys will move the keyframes by a single frame. The up and down cursors will adjust the value of the keyframes by a small amount.
- The degree of vertical movement applied to the value with each keypress is determined by the current scale of the graph view. The closer the zoom in the spline, the finer the adjustment.
- Hold the Shift key down while making keyboard adjustments to a keyframe to increase the amount of adjustment.
- With The Edit Points Controls
- The Edit Points Controls are found in the toolbars as wide buttons with text labels that usually say Value and Time. These allow explicit values to be entered for selected keyframes. These controls are explained in more depth later in this chapter.
Adding New Keyframes
New keyframes are automatically added to a spline whenever the value of the control that the spline is animating is changed. For example, if the strength of an animated glow is changed at frame 15, a keyframe with the new value will be set at frame 15.
Points can also be added to a spline by clicking directly on the spline in the position where the new keyframe is to be added. A new keyframe can be added at the current time by pressing K on the keyboard.
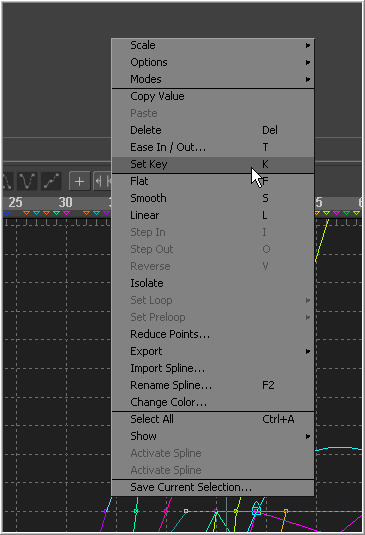
Selecting Set Key from the context menu adds a new keyframe along the active spline wherever the position of the mouse pointer was when the context menu was called.
Deleting Keyframes
To delete a keyframe or keyframes, simply select the keyframes and press the Delete key on the keyboard. This will only remove the keyframes. It will not remove the spline, even if all of the keyframes are deleted.
Copying And Pasting Keyframes
Fusion allows the values from one spline key point to be copied to another. These values can even be copied from one spline to another.
Copying Keyframes
To copy a value or values, select the desired keyframes and press Ctrl-C or select Copy from the context menu. To quickly copy points from one segment of a spline to another, hold Ctrl down and drag the points to where they will be pasted.
Pasting Keyframes
Place the mouse cursor at the time where the points are to be pasted and select Paste from the context menu. The points will be pasted into the current spline.
Linear And Smooth Splines
Although a keyframe defines the value of an animated control at a specified time exactly, there is some flexibility in the way the segment between two keyframes is treated.
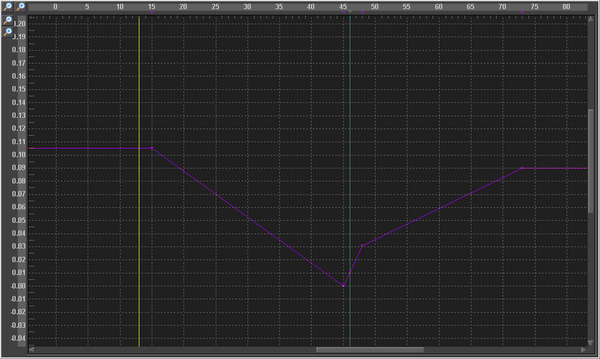
- Linear
- A Linear segment will effectively take the shortest route, which is a straight line between two keyframes. To make the selected keyframe(s) linear, press the L key or click the Linear button in the toolbar.
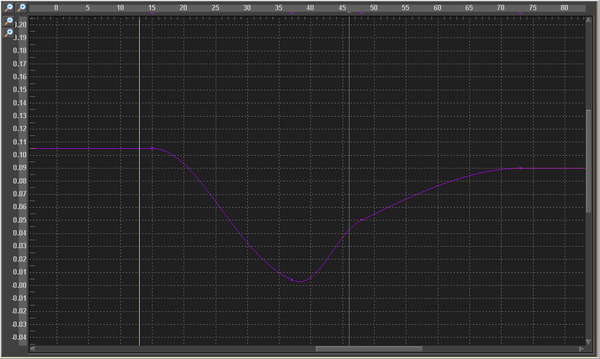
- Smooth
- A smoothed segment will provide a gentle keyframe transition. To smooth the selected keyframe(s), press the S key or click the toolbar's Smooth button.
Step In/Out
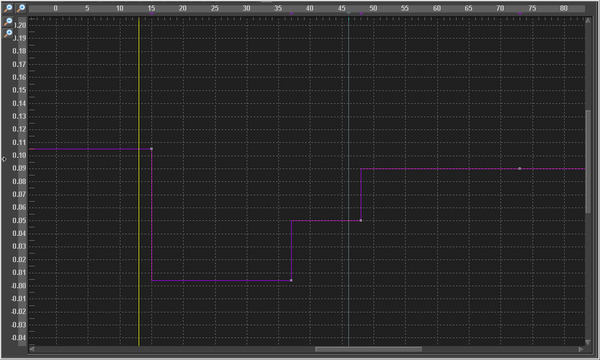
On occasion, it is not desirable to have any interpolation between two keyframes. Instead, the value of one keyframe may need to be held until another keyframe is set. For these cases, use Step In or Step Out mode.
Setting step in on a keyframe will cause the value of the previous keyframe to be held, then jump straight to the value of the next keyframe. Step out will cause the value of the selected keyframe to be held right up to the next keyframe.
Step in and step out modes can be set for selected keyframes by clicking on the toolbar buttons for each mode, or by right-clicking and choosing the appropriate option from the context menu. The keyboard shortcuts I and O can also be used to enable step in and step out selected keyframes.
Bezier Handles
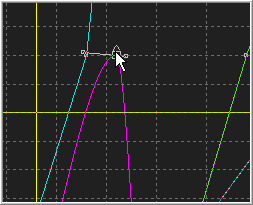
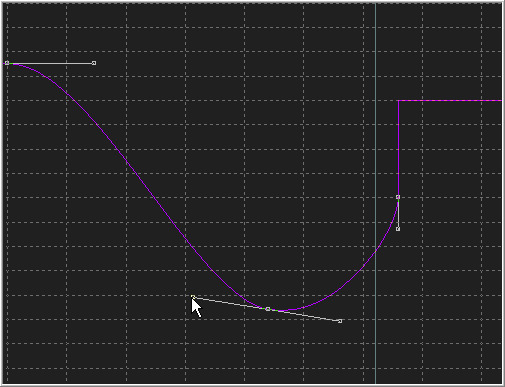
All Bezier spline keyframes have a pair of control handles to shape the spline as it passes through the key point. These handles can only be seen when the keyframe is selected. Click-dragging on a keyframe's handles will adjust the slope of the segments passing through the spline.
By default, the two control handles on a key point are locked together so that if one moves, the one on the other side moves with it. This maintains a constant tension through the keyframe. There are situations, however, when it is desirable to modify these control handles separately for a more pronounced curve or effect.
To temporarily break the lock between the control handles, select the key point to be modified. While holding down the Ctrl key, click on the control handle. They will now move independently of each other, as long as the Ctrl key is held down.
To make the spline editor treat all Bezier handles as independent, right-click in the graph view and select Independent Handles from the Options context menu
Showing Key Markers
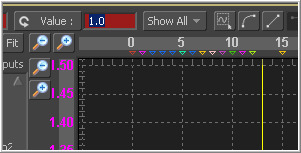
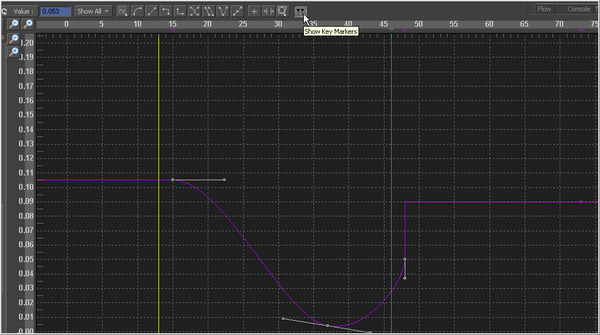
A region immediately below the labels of the horizontal time axis has been set aside to show markers that indicate the position of each keyframe. The display of these markers can be enabled by right-clicking on the graph view and selecting Show>Key Markers from the context menu, or by clicking on the button labeled Show Key Markers in the toolbar.
When the key markers are visible, they can be used to adjust the position of the keyframes in time, by click-dragging on the markers.
