Eyeon:Manual/Fusion 6/Highlight
From VFXPedia
[ Main Manual Page ]
Highlight [HiL] | |
|
The Highlight filter creates star-shaped highlights in bright regions of the image, similar to a lens star filter effect. | |
Contents |
Settings Tab
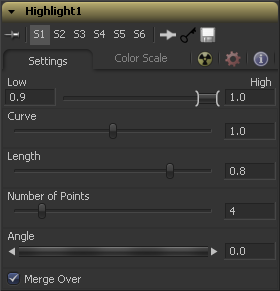
This range control designates the range of luminance values in the image that will generate highlights. Values less than the Low value will not receive highlights. Values above the High value will receive the full highlight effect.
The Curve value changes the drop off over the length of the highlight. Higher values will cause the brightness of the flares to drop off closer to the center of the highlight, whereas lower values will drop off further from the center.
This designates the Length of the flares from the highlight.
This determines the number of flares emanating from the highlight.
Use this control to rotate the highlights.
When this checkbox is on, it will overlay the effect on the original image. With the checkbox off, the output will be the highlights only. This is useful for downstream color correction of the highlights.
Color Scale Tab
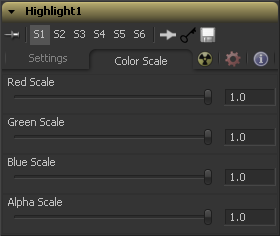
Moving the sliders of one or all of these channels down will change the falloff color of the highlight.
Moving the alpha slider down will make highlight falloff more transparent.
Highlight Masks
The Highlight tool offers an additional mask input called the Highlight Mask. This is a pre-mask that determines what pixels can be affected by the highlight before the highlight is applied. Unlike regular masks, it will not crop off highlights from source pixels when the highlight extends past the masks edges.
Tips for Highlight (edit)
EyeonTips:Manual/Fusion 6/Highlight
| The contents of this page are copyright by eyeon Software. |


