< Previous | Contents | Next >
— Use the Media page to assign clip colors to clips in the Media Pool using the Shot & Scene preset in the Metadata Editor. Clip colors do not appear in the Media Pool. Clip colors can be removed by clicking the X to the left of the Clip Color buttons in the Metadata Editor.
— Right-click one or more selected clips in the Timeline, and choose a color from the Clip Color submenu of the contextual menu. Clip colors can be removed by choosing Default Color from this same submenu.
— Colorists can right-click one or more selected clip thumbnails in the Color page and choose a color from the Clip Color submenu of the contextual menu. Clip colors can be removed by choosing Default Color from this same submenu.
Track Colors
Another method of visually organizing clips is the use of track colors. Each track can be color coded with one of 16 different colors. These color codes also appear in the Fairlight page, where they also correspond to the Edit page Mixer, and to the Fairlight page Mixer and Audio Meters.
Color-coded timeline tracks
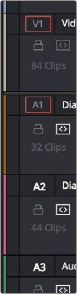
When you assign a color to a track, that track’s color appears in a thin strip to the left of that track’s header controls.
![]()
— Right-click the track header and choose a color from the Change Track Color submenu.
All clips that you place onto that track will appear with that color, unless they’ve been assigned an individual clip color, in which case the individual clip color overrides the track color. This makes track colors a great method of visual organization, because you don’t have to do any advance preparation; the very act of placing a clip on a specific track color codes it according to that track’s designated purpose.
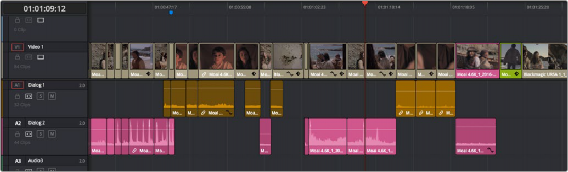
A timeline with color-coded tracks automatically tints the clips on each track; individual colored clips on V1 can be seen at left