< Previous | Contents | Next >
Selecting an audio clip in the Timeline and adjusting its volume only alters that clip, which lets you set basic levels for individual clips in your program. The Volume control affects every channel within that clip simultaneously.
If you select multiple clips in the Timeline, then adjusting the Volume sliders or virtual sliders for all of them simultaneously will make a relative adjustment to all of the clips, preserving their offsets from one another. If you want to set all clips to the same level, then making a numeric adjustment will set all selected clips to the same absolute level.
Adjusting Audio in the Timeline
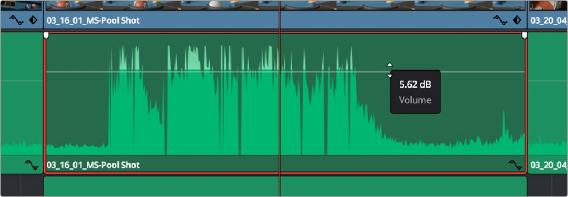
Each clip (or item) of audio in the Timeline has a Volume overlay that lets you set that clip’s level by simply dragging it up or down with the pointer. Holding the Shift key down while you drag allows finer adjustments. This overlay corresponds to the Volume parameter in the Inspector.
![]()
Dragging a Volume overlay to adjust the clip level
You can also click the Curve Editor button at the bottom right-hand corner of the audio clip, which opens the Audio Curve Editor. At the time of this writing, the only parameters you can edit in this Curve Editor is volume and pan.
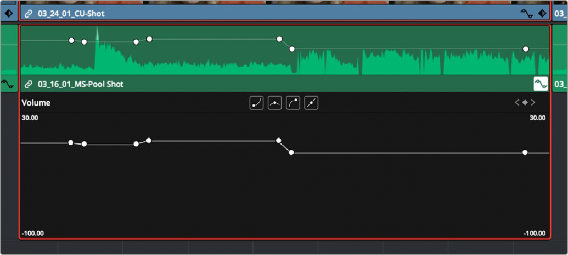
Showing the Volume overlay in the Curve Editor