< Previous | Contents | Next >
— Name: The name of the audio track that channel strip corresponds to. If you’ve edited the audio track names in the Timeline, those names will appear here.
— Solo: Mutes all tracks other than ones that are soloed.
— Mute: Disables that audio track.
— dB: Shows you the volume, in decibels, that track is currently set to.
— Fader: Each track’s vertical fader can be dragged with your mouse or other pointing device to adjust the volume of that track and perform automation recording. Dragging up increases volume, dragging down decreases volume.
— Audio meters: Audio meters to the right of each fader display the audio volume of all channels on that track during playback. Each channel strip has individual meters corresponding to the number of channels that track has been set to accommodate.
Mute and Solo Tracks For Output
When you use the Mute or Solo controls of the Audio Mixer, track audio is disabled both during playback and delivery for output. Make sure you have re-enabled any tracks you need before heading to the Deliver page. You can only modify mute and solo tracks on the Edit, Cut, and Fairlight pages.
Displaying Audio Meters
![]()
If you just want to see your program’s levels, you can also switch to display the “Control Room” audio meters instead of the Mixer. How many audio meters appear depends on the current speaker configuration in the Video and Audio I/O panel of the System Preferences.
— Click the Mixer button on the Interface toolbar to display the audio panel and then choose Meters from the option menu at the upper right-hand corner.
Audio Compound Clips
DaVinci Resolve supports audio compound clips, which are created just like any other compound clip, by selecting multiple audio clips, right-clicking one of them, and choosing New Compound Clip. Alternately, compound clips with video clips may now contain multiple audio items as well.
When compound clips containing audio are opened in the Edit or Fairlight pages by right-clicking an audio compound clip and choosing Open in Timeline, breadcrumb controls appear beneath the Timeline that let you exit the compound clip and get back to the master Timeline.
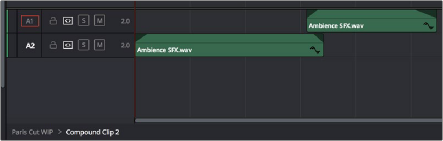
Opening an audio compound clip