< Previous | Contents | Next >
Audio Playback for Variable Speed Clips
Video/audio clips with variable speed effects applied to them can now play either pitch-corrected or un-pitch-corrected variable speed audio. An option in the Speed menu of the Retime controls lets you choose whether or not the audio is pitch-corrected.
Using Audio Filters
![]()
DaVinci Resolve includes Fairlight FX, a set of DaVinci Resolve-specific audio plugins that run natively on macOS, Windows, and Linux, providing high-quality audio effects with professional features to all DaVinci Resolve users on all platforms. Additionally, DaVinci Resolve supports the use of third-party VST audio plugins on Mac OS X and Windows. On Mac OS X, DaVinci Resolve supports Audio Unit (AU) audio plugins. Once you install these effects on your workstation, they appear in the Audio FX panel of the Effects Library.
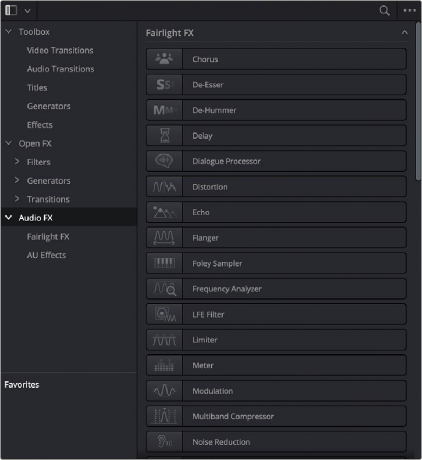
Audio filters in the Effects Library
Audio plugins let you apply effects to individual audio clips or entire tracks worth of audio, to add creative qualities such as echo or reverb, or to take care of mastering issues using noise reduction, compression, or EQ.
— To apply an audio filter to a clip: Drag any filter from the Audio FX panel of the Effects Library onto the clip in the Timeline you want to apply it to.
— To apply an audio filter to multiple clips: Select all of the clips you want to apply an audio filter to, then drag any filter from the Audio FX panel of the Effects Library onto any of the selected clips.
— Select that clip and open the Inspector. All audio filters applied to that clip appear under the Effects panel, in the Audio tab, with that filter’s controls appearing directly in the Inspector.
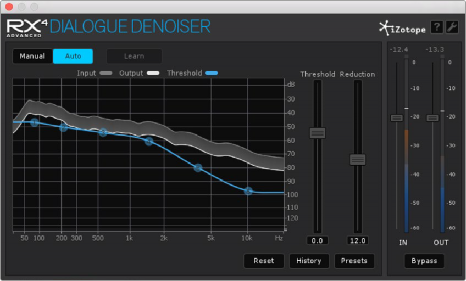
Many VST and Audio Unit audio filters have a custom user interface that makes it much easier to manipulate that filter’s controls. These can be opened from within DaVinci Resolve.
![]()
The custom audio filter interface for iZotope RX4
— Click the Custom Control button (the button to the right of the trash can). The custom controls appear in a floating window. When you’re finished adjusting the custom controls, close the window.
![]()
The button for opening a filter’s custom control
— To disable or re-enable a filter: Click the toggle button at the far left of each filter’s title bar.
— To remove a filter: Click the Trash Can button.
Once applied to a clip or track, audio filters can also be keyframed or automated just like volume and pan settings, to create dynamic audio effects that change over time.