< Previous | Contents | Next >
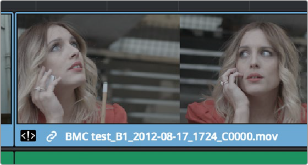
2 Click the entry in the list that you want to conform to, and click Apply. The clip in the Timeline changes to reflect the media you selected, and the “attention” icon is replaced with a “resolved” badge indicating that the conflict has been resolved. Keep in mind that you can always double- click the “resolved” badge to change which Media Pool clip you want to conform to. It remains a dynamic relationship.
A clip badge showing that the conflict was resolved
![]()
Re-editing Media Directly to the Timeline
If, for whatever reason, none of the above methods of relinking or reconforming have worked, sometimes the only thing left to do is to replace the problem clip in your timeline with a different clip. For example, you may need to replace an old version of an effects shot with a newer one, or or you need to replace an offline version of a stock footage shot with a higher quality one, and the problem is that you’ve got a mismatched filename and/or timecode, no reel name, and the files are completely different formats, frame sizes, and durations.
In this case, it’s a good thing that DaVinci Resolve has such good editing tools. For more information on editing, see Chapters 34 through 47. When fixing conform problems via manual editing, the replace edit is your special friend. For example, you could use a replace edit to match a new incoming clip’s timing to the old one. Or you could use a three-point edit, a place on top edit, or even a simple drag and drop edit to put the new clip into the Timeline to take the place of the old one. For specific information on the different edit types in DaVinci Resolve, see Chapter 36, “Editing Basics.”