< Previous | Contents | Next >
![]()
![]()
![]()
![]() Reset: Resets all parameters within that node.
Reset: Resets all parameters within that node.
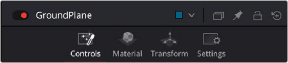
Parameter Tabs
Many nodes expose multiple tabs’ worth of controls in the Inspector, seen as icons at the top of the parameter section for each node. Click any tab to expose that set of controls.
![]()
Nodes with several tabs’ worth of parameters
Keyframes Editor
The Keyframes Editor displays each node in the current composition as a stack of layers within a miniature timeline. The order of the layers is largely irrelevant as the order and flow of connections in the node tree dictate the order of image-processing operations. You use the Keyframes Editor to trim, extend, or slide Loader, MediaIn, and effects nodes, or to adjust the timing of keyframes, which appear superimposed over each effect node unless you open them up into their editable track.
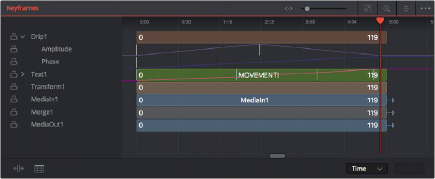
The Keyframes Editor is used to adjust the timing of clips, effects, and keyframes.