< Previous | Contents | Next >
Attaching a Parameter to an Existing Animation Curve
Multiple parameters can be connected to the same animation curve. This can be an invaluable timesaver if you are identically animating different parameters in a node.
1 Right-click on the second parameter you want to attach.
2 In the contextual menu, hover over the Connect To submenu.
3 In the Connect To submenu, choose the name of the animated parameter.
Keyframes Editor Overview
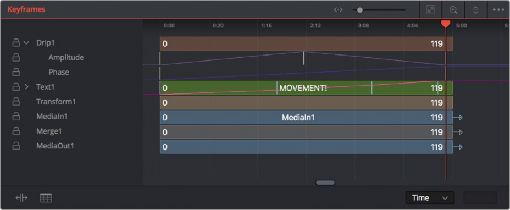
The Keyframes Editor is essentially a timeline view of your composition, within which each clip and effect node in your composition is represented by a track. These tracks have the same color coding as the nodes they represent and are labeled where appropriate. A Time Ruler at the top
indicates the timing of your composition, while numerous controls let you control the contents of the Keyframes Editor.
The Keyframes Editor can be used for one of two things:
— To adjust the timing of elements in a project, whether they’re clips or effects. You can trim, slide, and extend clips, adjust the timing of an animation spline, or trim the duration of an effects node. You can freely rearrange the order of nodes in the Timeline without affecting the layering order of your composition. All compositing operations are handled in the Node Editor, while the Keyframes Editor manages the timing of your composition.
![]()
— To create and/or edit keyframes that you’ve applied to effects in a track-based manner, you can retime keyframes, add and delete keyframes, and even edit keyframe values
The Keyframes Editor
— Click the Keyframes Editor button in the UI toolbar to toggle visibility of the Keyframes Editor on and off.
— Press F7 on the keyboard.