< Previous | Contents | Next >
— Select a locked point on the Displacement spline and then hold down the Command key while dragging the point horizontally to another frame. The point is copied as an unlocked point to the new frame.
Create a pause in the motion by copying locked points
Knowing the difference between locked and unlocked points gives you independent control over the spatial and temporal aspects of motion paths.
Locking and Unlocking Points
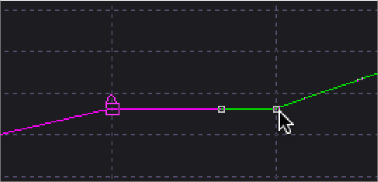
You can change an unlocked point into a locked point, and vice versa, by selecting the point(s) and choosing the Lock Point option from the contextual menu.
Tips for Manipulating Motion Paths
![]()
There are a variety of ways you can create and edit motion paths in the viewer.
Compound Motion Paths Using Path Centers
Every motion path has a defined center represented by a crosshair. Path centers allow paths to be connected to other controls and behave in a hierarchical manner, which is an exceptionally powerful way of creating complex motion by combining relatively simple paths.
A useful example of this technique would be animating the path of a bee in flight. A bee often flies in a constant figure eight pattern while simultaneously moving forward. The easy way of making this happen involves two paths working together.
In the following example, the bee would be connected to a first path in a Transform node, which would be a figure eight of the bee moving in place. This first path’s center would then be connected to another path defining the forward motion of the bee through the scene via a second Transform node.