< Previous | Contents | Next >
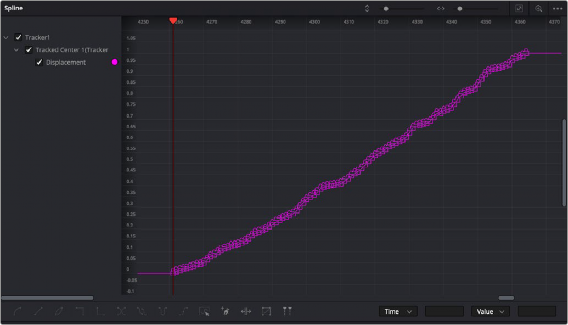
Viewing Tracking Data in the Spline Editor
Tracking data can be seen in the viewer as a path or as a displacement spline in the Spline Editor. You can manipulate the tracking data in either place.
The Tracker uses a displacement spline by detail that indicates how far the tracking point is based on the original location. It is great for modifying velocity, but it doesn’t tell you anything about direction. If you need to nudge a few points in a certain direction, you can convert the displacement spline to an X and Y coordinate spline.
![]()
Right-clicking a parameter’s label lets you connect tracking data to it to animate it
Right-click in the viewer to bring up a contextual menu. At the very bottom is a reference to the path the Tracker created, called Tracker1Tracker1Path:Polyline. Choosing it calls up a longer submenu where you can choose Convert to XY Path.
For more information on Displacement Splines, see Chapter 72, “Animating in Fusion’s Spline Editor,” in the DaVinci Resolve Reference Manual or Chapter 10 in the Fusion Reference Manual.
Tracker Inspector Controls
The layout of the Tracker node’s tabs in the Inspector reflects this workflow. It’s divided into three main Tracker tabs, as well as the common Settings tab.
— The Tracker Control tab: This is where you create onscreen trackers with which to target patterns, and where the controls appear that let you perform the required track analysis.

The Tracker Control tab
![]()
— The Operations tab: This is where you decide how the tracking data is used.
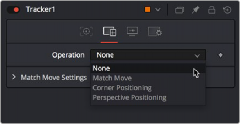
The Tracker Operations tab
— The Display Options tab: This is where you can customize how the onscreen controls look in the viewer.
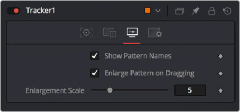
The Tracker Display Options tab