< Previous | Contents | Next >
Outputting from the Camera Tracker
Unlike most Fusion nodes, the Camera Tracker node has two outputs:
— The primary output is a 2D view used when you are setting up the Track, refining the camera, and performing your initial solve.
— There is also a 3D output used after your initial solve for viewing the camera path and point cloud in 3D space. This view can be helpful when you are refining tracks to increase the accuracy of
the solve and aligning your ground plane. It can be used simultaneously with the 2D output in side-by-side views.
Note that the selection of tracks in the 2D view and their corresponding locators (in the point cloud) in the 3D view are synchronized. There are also viewer menus available in both the 2D and 3D views to give quick control of the functionality of this tool.
2D View
![]()
The 2D view is the primary display for the node. Viewing the node displays the image being tracked as well as overlay tracker markers and their motion paths. A dedicated toolbar gives you access to the common features used to track and solve a clip.
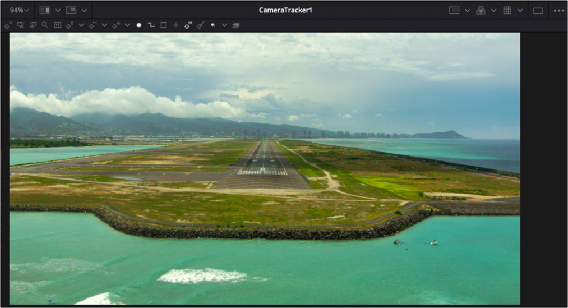
The Camera Tracker 2D output with toolbar and auto-track points
3D View
The second output of the Camera Tracker node displays a 3D scene. To view this, connect this 3D output to a 3D Transform or Merge 3D node and view that tool.
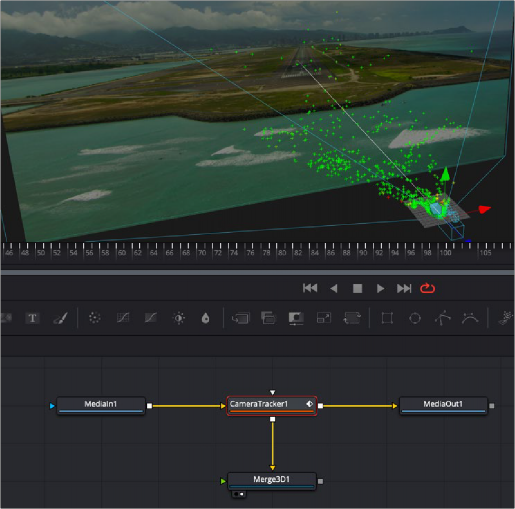
![]()
After solving, connecting the second output of the Camera Tracker node to a Merge 3D displays the point cloud in 3D
After an initial solve, the 3D output displays the point cloud and the camera, along with the image connected to it. Selecting points displays the Camera Tracker toolbar above the viewer, which gives control of various functions, such as renaming, deleting, and changing the colors of points in the point cloud.
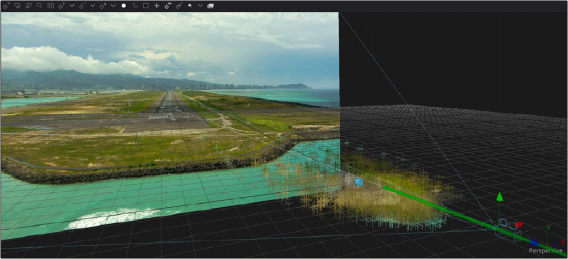
3D output of a point cloud and a solved camera path