
< Previous | Contents | Next >
The Goals of Color Correction
If reality is a fire hose of visual information, then digital cinema and broadcast would be represented by a garden hose. Color correction, therefore, could be considered the process of choosing which parts of the fire hose of raw image data to fit into the garden hose of our displays in order to create a pleasing image for the viewer.
Maximizing the Look of Your Media
Clearly, the most fundamental aspect of the color correction process is that of making every clip look its best. While the job of the cinematographer is to light and expose the image with an artistic intent, your job is to realize this intent by making adjustments to the color and contrast of the image, so that the final result is as close to what the director and cinematographer had in mind as is humanly possible. In the process, you have the opportunity to overcome inconsistencies with
exposure and white balance that were, for various reasons, unavoidable. Furthermore, you can make subtle adjustments to add warmth or contrast that was not available during the shoot, but that the cinematographer would have liked.
Increasingly, color correction is seen as a critical stage in the post-production process. For example, the newer generation of digital cinema cameras are capable of shooting raw colorspace image data, or RGB image data with a log exposure, in order to preserve the maximum amount of image data for manipulation during the color correction process. However, when you acquire image data this way,
it must be transformed into a viewable image via color correction in the same way that film negative must first be developed and printed to positive film.
![]()
Log encoded source Normalized and corrected
Source footage courtesy of Gianluca Bertone DP, www.bertonevisuals.com
Of course, there are also situations in which you may find it necessary to attempt to fix source media with far more substantial problems in color and exposure. In these cases, the tools exist to make far more involved adjustments to the image; however, the quality of your results will depend heavily on the data quality and “latitude” of your source media.
For example, Blackmagic URSA, ARRI ALEXA, and RED DRAGON cameras record quite a bit of image data, making extreme corrections far more possible than more heavily compressed camera formats such as the Canon 5D. However, in either case, DaVinci Resolve provides the tools to process images in many different ways to adjust the image for a better look.
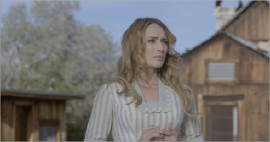
Underexposed source Balanced and gain corrected
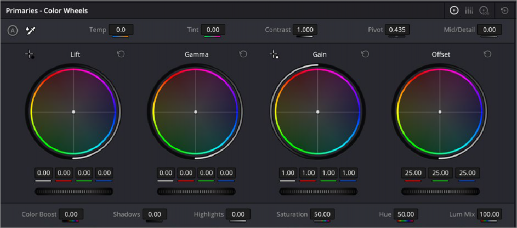
Whether clips need changes large or small, the primary DaVinci Resolve toolset adjusts the characteristics of hue, saturation, and contrast in a variety of ways. In the Color Wheels palette, Color balance wheels let you adjust all three color channels at once, altering the color temperature of the scene at specific ranges of tonal detail referred to as lift, gamma, and gain. Alternately, the slider-based Primaries Bars mode lets you make the same kinds of controls via independently adjustable red, green, and blue lift, gamma, and gain controls.
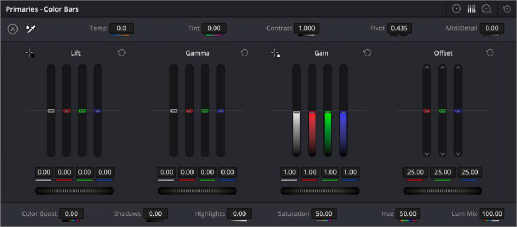
![]()
Primary correction wheels, Primary correction bars
All of these controls let you adjust the color tone of the shadows, midtones, and highlights independently from each other.
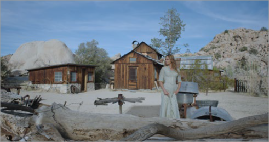
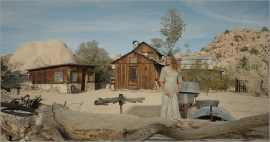
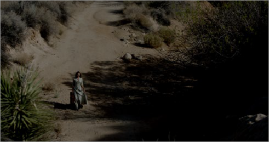
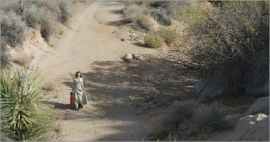
Cool look Warm look
Meanwhile, the Master Lift, Gamma, and Gain wheels work together to let you alter image contrast in different ways: deepening shadows, lightening highlights, and brightening or darkening the midtones in between to create whatever image tonality you prefer for a given scene.
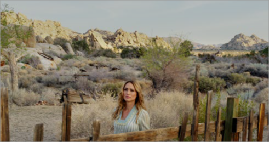
High contrast Low contrast
Source footage courtesy of Gianluca Bertone DP, www.bertonevisuals.com
Separate saturation controls let you increase or decrease color intensity throughout the scene, while the Lum vs. Sat and Sat vs. Sat curves give you the ability to fine-tune saturation very specifically.
![]()
High Saturation Low Saturation
For more information on these controls, which are essential to the color correction process,