< Previous | Contents | Next >
1 First, you must select a range of clips in the Color page timeline.
2 Open the Camera Raw palette, and make whatever adjustments are necessary to the current clip. The name of each parameter you adjust changes to amber, showing you which parameters have been modified, and which have not.
3 To ripple your changes, do one of the following:
— Click the Use Changes button to ripple only the altered parameters (in amber) to the other clips you’ve selected in the Timeline. This preserves differences between clips in the parameters you haven’t adjusted (in gray).
— Click the Use Settings button to ripple every parameter of the current clip to the other clips you’ve selected, overwriting all the camera raw settings at once.
![]()
The Use Changes and Use Settings buttons in the Camera Raw palette
Clip Decoder Settings
There’s much more information on the various format-specific Master settings, as well as the occasionally format-specific Clip Decoder settings, in Chapter 7, “Camera Raw Settings.” However, with the exception of the RED Clip Decoder settings that appear for R3D clips, most other formats share
a set of DaVinci Resolve-specific controls that provide wide-latitude access to the raw image data for purposes of making different kinds of adjustments.
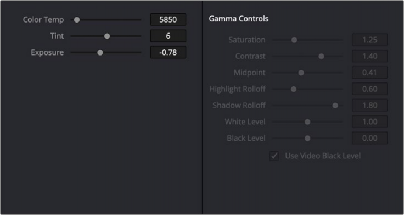
![]()
Camera Raw Clip Decoder settings for BRAW media
While specific raw formats have individual controls, the standard controls include:
— Color Temp: Designed to alter the “warmth” of the image. Adjustable in degrees Kelvin. Lower values correct for “warmer” lighting, while higher values correct for “cool” lighting. +6500 is unity. The range is +2000 to +50,000.
— Tint: Color balance correction for images with a green or magenta color cast, such as fluorescent or sodium vapor bulbs. 0 is unity. The range is –150 to +150.