< Previous | Contents | Next >
The Many Ways to Invert a Key
Sometimes, you’ll need to isolate a subject or range of values in an image, and then make a change to everything else. One way to do this is to add an Outside node after the node in which you’ve created the key. This lets you make one set of adjustments to what you’ve keyed, and another set of adjustments to everything outside the key.
If you just need to make a simple adjustment, you can invert the key from within the Qualifier palette. However, there are three other ways to invert a key.
— The Qualifier Invert button: Clicking this control simply inverts the key being generated by all of the controls within the Qualifier palette.
— Key Palette Qualifier Invert: The Qualifier Invert control within the Key palette provides another control with which you can invert the key that’s generated by the Qualifier palette.
— Key Palette Output Invert: The Output Invert control within the Key palette is notable because it inverts the sum of all keys applied within that node. For example, if you’re using a Qualifier
in conjunction with a Window, the two invert controls mentioned previously will only invert the Qualifier key; the Window key remains unaffected. However, using the Output Invert control inverts the overall combination of the Qualifier key and the Window, all together.
Combining Qualifiers and Windows
![]()
This is covered in more detail in a subsequent section, but if you create a key using one of the Qualifier modes, and you then add a Window, the final key that’s output by that node is limited to the intersection of the Qualifier key and the Window. This makes it easy to use a Window to “garbage matte” out bits of a key that you don’t want, that can’t be eliminated by further adjustment of the Qualifier controls.
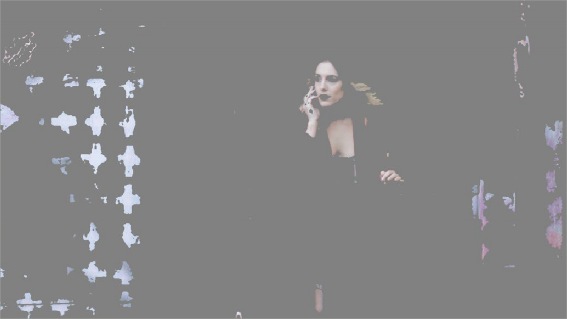
The woman’s skin tone is too close to other elements in the scene.
