
< Previous | Contents | Next >
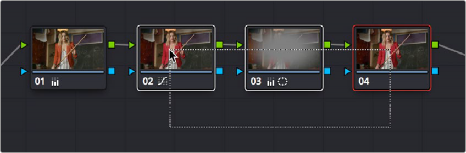
The node that’s currently selected in the Node Editor is highlighted in orange, and is referred to as the current node. When you adjust any of the parameters or settings in the Color page, you’re adjusting parameters within the current node. You can only select one node at a time.
— Click any node in the node graph.
— Choose Color > Nodes > Previous Node (Option-Shift-Semicolon) or Color > Nodes > Next Node (Option-Shift-Apostrophe). When you do this, the last node loops around to the first one,
and vice versa.
The selected node appears highlighted in orange. You also have the ability to select multiple nodes, in preparation for doing things like moving them or creating compound nodes (covered later in
this chapter).
— Command-click each of the nodes you want to simultaneously select.
— With the Node Editor Selection tool chosen (at the upper left-hand corner of the Node Editor) simply drag to select multiple nodes using a bounding box.
The Node Editor’s Selection tool
When you select multiple nodes, each one appears highlighted in white, with the exception of the current node, which remains orange.
![]()
Selecting three nodes by dragging a bounding box
When you select another clip in the Timeline, the default behavior is that the last node that was selected when you worked on that clip is the one that’s selected when you move to that clip again. However, a setting in the option menu of the Node Editor and the Color panel of the User Preferences, called “Switching clips,” lets you change this behavior. For more information on this option, see Chapter 4, “System and User Preferences.”