< Previous | Contents | Next >
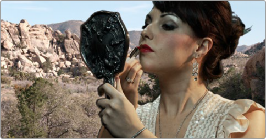
The areas of the matte defined by the key are now rendered transparent.
The final composite created using the external matte node
Key Palette Controls for the External Matte Node
When you select an EXT MATTE node, the Key palette displays different parameters only for mattes. Be aware that you must turn off the Lock Matte checkbox before you can make adjustments to transform the matte.
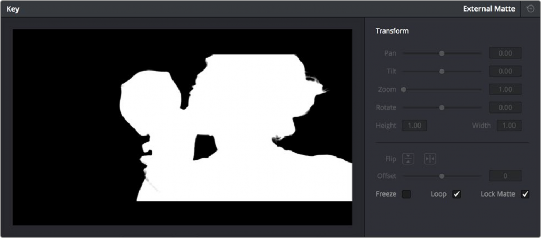
The Key Palette showing a texture layer added as an EXT MATTE node
— Transform: Standard Pan, Tilt, Zoom, Rotate, Width, and Height parameters let you transform a matte to fit the image better.
![]()
— Flip Image: Two buttons let you flip the matte clip horizontally or vertically.
— Offset: Adjust this parameter to offset the start point of a matte clip.
— Freeze: Turning on this checkbox freezes the matte clip on a single frame. Adjust the Offset parameter to choose which frame to freeze on.
— Loop: Turning on this checkbox enables matte clips to loop endlessly, which lets shorter matte clips cover longer durations.
— Lock Matte: When turned on, locks the sizing of a matte to whatever changes are made to the Input Sizing of that clip, so the matte transforms to follow the clip.
You can also use external mattes as creative tools. For example, you might use a more abstract animated matte, or a grayscale film scan of dirt and dust, to apply correction for effect.