< Previous | Contents | Next >
Introduction to Compositing Using the Alpha Output
While DaVinci Resolve can use the alpha channel of imported media for compositing, the Alpha Output in the Node Editor is an optional output that you can turn on to create clip transparency using operations inside DaVinci Resolve to create composites against other clips on lower video tracks.
There are many ways of using the Alpha Output, but this section will focus on three examples.
![]()
Using a Qualifier Key to Create Transparency
In this first example, the Alpha Output will be used to composite a green screen clip with a background plate.

A green screen clip, ready for compositing
In preparation for this composite, the background plate is on track V1 of the Timeline, and the green screen clip has been superimposed on track V2.
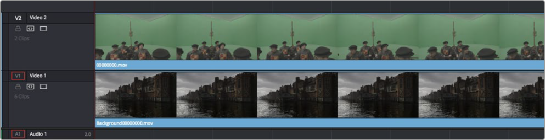
A superimposed green screen clip on track V2 of the Timeline, above a background plate on track V1, ready for compositing
1 Right-click anywhere within the gray area of the Node Editor and choose Add Alpha Output to add the Alpha Output at the right of the node graph.
An Alpha Output appears underneath the Node Tree output at the right of the Node Editor.

![]()
The image Node Tree output with Alpha Output below
2 You’ll want to use Node 1 to color correct the image to optimize it for keying. In this example, the foreground plate is log-encoded, so a LUT is added to Node 1 to normalize it.
3 Add a Serial node after Node 1 and connect its key output to the Alpha Output. This is a fast way to build this composite if you’re confident that the corrections you’ve made in Node 1 won’t adversely affect the key (or if you know they’ll improve it by expanding the contrast of a flat- contrast source clip).
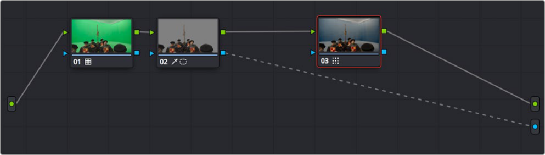
Alternately, you could create a second processing branch by adding a disconnected node
(Node 2), connecting the Source node to its RGB input, and then connecting its key output to the Alpha Output you just added. Creating a second image processing branch from which to pull your
key lets you key directly from the source (assuming the source is fit to key without adjustment), avoiding any problems that grading the first node could introduce to the key.
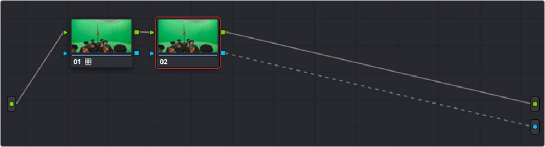
Node 1 grades the clip, expanding contrast to improve both the image, and its ability to be keyed. Node 2 uses Qualifier controls to pull the key.
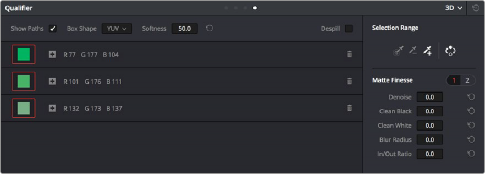
4 Use the Qualifier controls of Node 2 to key out the green background, and then turn on the Invert checkbox to create the proper composite. In this example, we’re using the 3D Qualifier mode to pull a high-quality key.

![]()
An HSL Qualification to key the green feeding the Alpha Output to create transparency
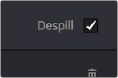
5 If there’s green spill in the composite (or blue in cases where you’re keying a bluescreen) you can turn on the Despill checkbox to eliminate it.
6 You can also use a Power Window to garbage matte out any elements you don’t want intruding into the shot, using the Tracker palette if necessary to make the window follow the motion of the foreground subject.
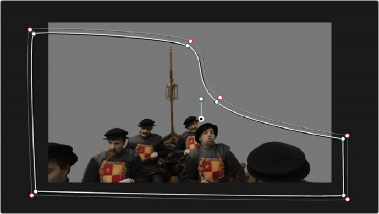
A PowerCurve used to garbage matte out unkeyable lighting fixtures
7 If necessary, you can add another node to the output of Node 2 to make whatever corrections are necessary to the background plate clip to make the composite blend more seamlessly. For example, with this additional node selected, you could right-click the background clip and choose “Shot Match to This Clip” to use the automatic shot matching in DaVinci Resolve to adjust the foreground to match the background.
Adding more color adjustments to a node added after the qualifier
![]()
With all this set up, you end up with a nice green screen composite that’s visible in both the Color and Edit pages.

The result, with a window garbage matte cropping out the equipment, ready for further refinement