< Previous | Contents | Next >
The academy that promotes the correct use of ACES strongly recommends that LUTs be processed in the ACES color space. For this reason, two project settings let you choose how this will be done:
— ACEScc AP1 Timeline Space: This setting works for either the ACEScc or ACEScct Color Science settings depending on what you’ve selected in the Color Science pop-up at the top of the Color Management panel in the Project Settings. This setting lets you use LUTs that were created for ACES workflows that are similar to (but not the same as) LUTs you would create and use in a traditional log-encoded workflow. LUTs designed for working with this setting should have a range of –0.358 to
1.468 so that grading operations that clip an image from 0 to 1 won’t destroy the look being applied.
The “ACEScc AP1 Timeline Space” setting is also good for workflows where you want to use conventional LUTs that were designed for Rec. 709 workflows using the ResolveFX “ACES Transform” plugin, which over a series of three nodes lets you transform the image from ACES to 709, apply a Rec. 709-designed LUT, and then convert the image from 709 back to ACES.
— ACES AP0 Linear: This setting requires you to apply an LMT LUT that has been specifically created for ACES image data. Only use this setting if you’re using CLFs that are designed for ACES using a range of –65504 to 65504, as specified by SMPTE 2065.
Adding Lookup Tables of Your Own
![]()
The menus in the Color Management panel of the Project settings include a series of factory preset LUTs that were installed with DaVinci Resolve, along with any LUTs that have been generated by DaVinci Resolve, or that you’ve imported into the proper directory for your operating system for your own use.
By default, LUTs are saved to the following locations:
— On OS X: Library/Application Support/Blackmagic Design/DaVinci Resolve/LUT/
— On Windows: C:\ProgramData\Blackmagic Design\DaVinci Resolve\Support\LUT
— On Linux: /home/resolve/LUT
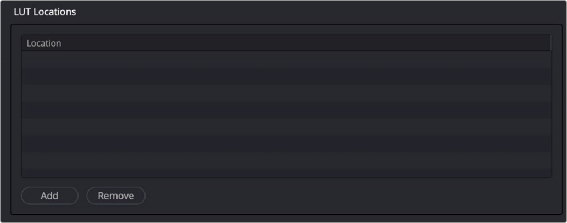
Custom LUT Paths
A list in the General panel of the DaVinci Resolve System Preferences lets you add multiple file paths for loading LUTs that you want to use in DaVinci Resolve. This works for network volumes for facilities where multiple workstations are accessing a central collection of LUTs to be shared among multiple artists. Clicking the Add button lets you add a file path to this table from a dialog. Selecting a location in this list and clicking Remove removes that location.