
< Previous | Contents | Next >
Here’s a sample workflow for replacing the sky with one generated by the artificial sky tools.
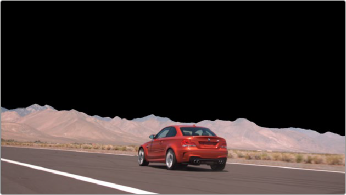
This is the original clip, with the sky we want to replace. To start with, we simply make a new color node.
The original shot we want to replace the sky on.
Next we need to qualify the sky. For this clip, we can apply the Magic Mask (object) tool to the node to select just the sky we want to replace. You could also use the HSL qualifier, 3D qualifier, or even a power window to do the same thing.
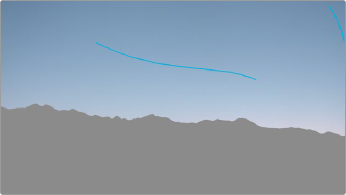
The sky qualified using the Magic Mask tool.
![]()
Now that the sky is selected, we can drag and drop the Sky Replacement effect from the Effects Library onto the same node that our Magic Mask is on.
The black area is where we will create our new sky.
Now that both toolsets are active on the same node, we can adjust both the Magic Mask and the Sky Replacement parameters at the same time. This makes the complete sky replacement a one node process.
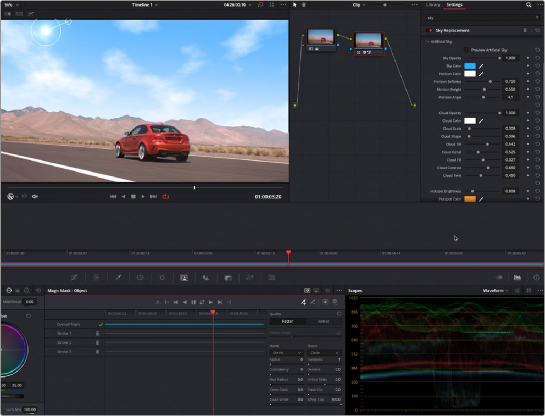
You can use both the Magic Mask (or any qualifier) and the Sky Replacement tools on the same node.
![]()
Using the Artificial Sky Controls, we can create a new, more interesting sky. Then, using the Sky position tools, we can track the sky to the camera movement of the original clip. Finally, adding the Foreground Appearance toolset, we can seamlessly blend the foreground and sky together.

The final replaced sky that tracks with the camera movement.