< Previous | Contents | Next >
Making Adjustments in the Inspector
Clip-specific audio parameters like Volume, Pan, Pitch, and Equalization can be adjusted and animated in the Inspector. This section walks you through how this works.
Using the Inspector
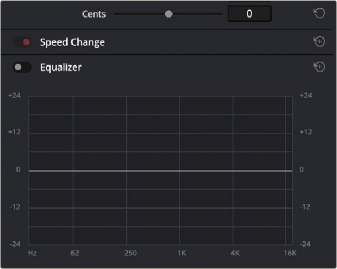
Audio clips in the Fairlight page expose similar controls to those found in the Audio Inspector Panel of the Edit page. Additionally, the Inspector will display controls for audio plugins that you apply to clips as well. All parameters are organized into groups, with a title bar providing the name of that group, along with other controls that let you control all parameters within that group at the same time.
Closed and open Inspector group controls in the Fairlight page
These controls include:
— Enable button: A toggle control to the left of the parameter group’s name lets you disable and re-enable every parameter within that group at once. Orange means that track’s enabled. Gray is disabled.
— Parameter group title bar: Double-clicking the title bar of any group of parameters collapses or opens them. Even more exciting than that, Option-double-clicking the title bar of one parameter group collapses or opens all parameter groups at once.
— Keyframe and Next/Previous Keyframe buttons: This button lets you add or remove keyframes at the position of the playhead to or from every single parameter within the group. When the button is highlighted orange, a keyframe is at the current position of the playhead. When it’s dark gray, there is no keyframe. Left and right arrow buttons let you jump the playhead from keyframe to keyframe for further adjustment.
— Reset button: Lets you reset all parameters within that group to their default settings.