< Previous | Contents | Next >
The dividing line’s position can be moved to any location by dragging it, so you can keep the split organization of tracks into two different areas but re-order what is shown.
Once the order has been changed in the Index, this is reflected in both the Mixer panel as well as in the Meter panel. By reordering busses and tracks, you can adjust your workflow for whatever set of tasks you are working on.
Clicking the three dot Option menu at the top of the Mixer panel offers an option for Single Mixer view. The Single Mixer view removes the divider line from the Tracks tab in the Index entirely, providing a continuous scroll of the tracks, both in the Mixer panel horizontal scroll and the Index vertical scroll.

NOTE: You can reset the bus order to its original layout by choosing “Reset Bus Order” from the three dot Options menu on the upper right of the Mixer.
NOTE: You can reset the bus order to its original layout by choosing “Reset Bus Order” from the three dot Options menu on the upper right of the Mixer.
NOTE: You can reset the bus order to its original layout by choosing “Reset Bus Order” from the three dot Options menu on the upper right of the Mixer.
You can restore the divider at any time.
Changing Track Type
Track type refers to the channel width of the audio track and what format it is. The track type can be changed at any time. For example, you could have a mono track, and change it stereo, or to a 5.1 track, or to a 12 channel Adaptive.

NOTE: Keep in mind that if you change from a larger track type to a smaller one, you may need to also set which of the channels in the larger source audio file are now audible on the smaller track type. This can be handled via the contextual menu choice Clip Attributes for a clip, using the Audio tab.
NOTE: Keep in mind that if you change from a larger track type to a smaller one, you may need to also set which of the channels in the larger source audio file are now audible on the smaller track type. This can be handled via the contextual menu choice Clip Attributes for a clip, using the Audio tab.
NOTE: Keep in mind that if you change from a larger track type to a smaller one, you may need to also set which of the channels in the larger source audio file are now audible on the smaller track type. This can be handled via the contextual menu choice Clip Attributes for a clip, using the Audio tab.
To change the track type, select one or more tracks, then right-click one of the selected tracks and choose a different track type from the Change Track Type submenu of the contextual menu.
Selecting Channel Strips and Tracks
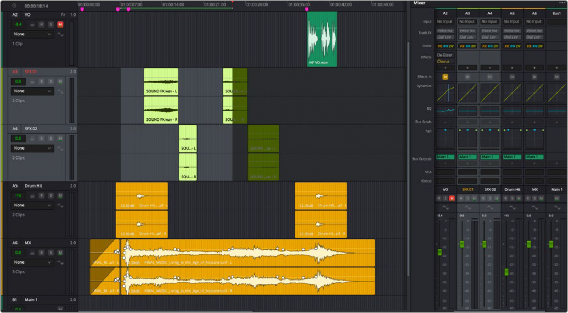
When you select a track in the Timeline, you also select that track’s accompanying Mixer channel strip, and vice versa:
— To select single tracks, just click.
— To select multiple contiguous tracks, select a starting track or channel strip, hold down Shift, and click on last item you want in your selection.
— You can also select multiple channel strips in the Mixer by clicking and dragging to create a bounding box around the tracks you want to select.
— To select non-adjacent (discontiguous) tracks or channel strips, command-click on each item you want to add to your selection.
