< Previous | Contents | Next >
This utility is used to add Fairlight panels to a user-defined Fairlight console configuration. Once the multi-panel console is configured, you can name it and connect it as a single studio unit to your DaVinci Resolve System.
After setting up your Fairlight panels in the DaVinci Control Setup utility, assign each module to your Fairlight Console using the Fairlight Studio Utility. This configures your console as a studio, telling DaVinci Resolve exactly where each panel is in your Fairlight console so the Fairlight page can control them all properly and display their controls on the appropriate LCD monitors.
Stand alone panels, such as the Fairlight Desktop Console or the Fairlight Audio Editor, do not need to be added to a studio configuration to be selected by DaVinci Resolve. If you have only a Desktop Audio Editor or Desktop Console in your studio, go to the next section, “Selecting your Fairlight Console in DaVinci Resolve,” and follow the instructions there to select the editor in DaVinci Resolve.
When using the Fairlight Studio Utility for the first time, you will choose the type of studio console, then add the connected panels to the console in the utility.
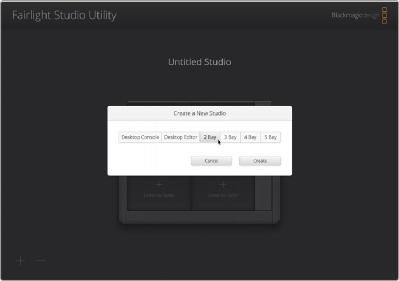
1 Launch the Fairlight Studio Utility.
2 Select the number of bays in your Fairlight console and click Next. This will open a configuration screen where panels are assigned to the corresponding chassis slots in each bay.
Choose the type of studio
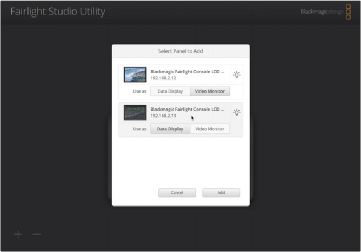
3 In the configuration screen, click on the top left slot to assign a Fairlight Console LCD Monitor. From the list of modules, select the desired monitor for the corresponding slot by clicking on its icon.
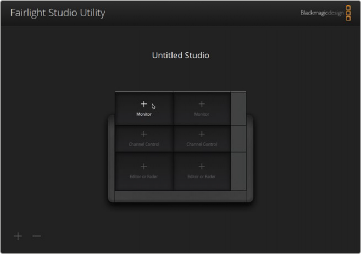
Click the empty slot to see a list of available panels
Choose the type of console
![]()
4 Click Add.
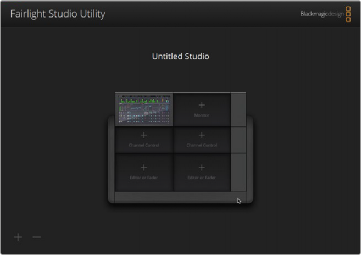
LCD Monitor is added to the console in the Fairlight Studio Utility
The panel will be assigned to the corresponding slot on your Fairlight console. You can now follow the same procedure to assign all the other panels to the corresponding positions in the configuration utility. If you select the wrong module by mistake, all you need to do is click on the module in the group to reveal its options, and then click the ‘X’ icon to remove it.
As you configure each panel, you can confirm it corresponds to the correct position in the console by clicking on the panel in the group to reveal its options, and then clicking the Light Bulb icon.
Your Fairlight console is now configured as a studio and you can change the name of the studio by clicking in the Untitled Studio text box, typing a new name, and pressing the Return key to confirm. This makes it easier to identify each studio if you have multiple studios installed in your facility.
Each panel can be identified by the custom name you entered when labeling the panel in the DaVinci Control Panel Setup utility. You can also click on the Light Bulb icon for each panel to visually identify it. When clicking on the light bulb, features will illuminate on the relevant panel.

Untiled Studio

NOTE: You can change the Group Name of a multi-panel console at any time in the name field of the Fairlight Studio Utility.
NOTE: You can change the Group Name of a multi-panel console at any time in the name field of the Fairlight Studio Utility.
NOTE: You can change the Group Name of a multi-panel console at any time in the name field of the Fairlight Studio Utility.
![]()
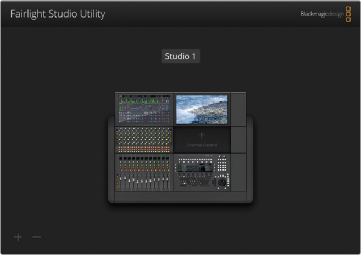
User defined name set to Studio 1