< Previous | Contents | Next >
Creating New Network Project Libraries
If necessary, you can create new network project libraries right within the DaVinci Resolve Project Server.
1 Click the Add Project Library button at the bottom of the Project Libraries list.
2 When the Create Project Library window appears, type a name for the new project library into the Name field. Because all projects in a network project library are saved internally within the network project library, no other changes are necessary.
3 Click Create, and the new network project library will appear in the Project Libraries list.
Backing Up and Restoring Project Libraries
You can also back up and restore project libraries without needing to open DaVinci Resolve. Furthermore, you can back up project libraries from older versions of DaVinci Resolve, making it easy to back up project libraries for safety before you upgrade them.
1 Select the project library you want to back up.
2 Click the Display Project Library Details icon (the circled letter “i” to the right of the project library).
3 Click the Back Up button.
4 Choose a location to which to save the backup in the Backup Project library dialog, and click Save.
1 Click the Restore button at the top of the Project Libraries sidebar.
![]()
The Restore button
2 Find the project library you need to import using the file import dialog, and click Open.
3 In the Add Project Library dialog, type a name for the new project library into the Name field. This will rename the imported project library but will not alter its contents. You can also name it the same as the original project library.
4 Click Create, and the imported local project library will appear in the Project Libraries sidebar.
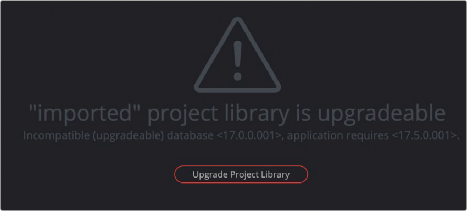
Upgrading Project Libraries
From time to time, new versions of DaVinci Resolve require changes to the way projects are created, which requires project libraries created with older versions of DaVinci Resolve to be upgraded before you can access the projects within. Fortunately, this is a simple process.