< Previous | Contents | Next >
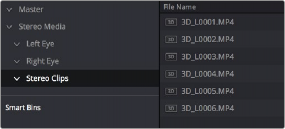
The original clips in the Left and Right bins disappear, and a full set of Stereo 3D clips appear in the output bin you selected in step four.
![]()
Final stereo clips, ready to be edited and graded
Step 3—(Optional) Create Optimized Media
If your stereo media is excessively large, you can create optimized media.
1 Select the stereo clips you’ve created.
2 Right-click one of the selected clips, and choose Generate Optimized Media from the contextual menu. A window appears showing you how long it will take to finish creating optimized media.
Monitoring Stereoscopic 3D in the Edit Page
You can now view a Stereoscopic 3D signal directly from the Edit page. Previously, the Edit page was restricted to left eye for video output monitoring. The Edit Page Viewer itself still shows only a single eye, but it now displays Stereoscopic 3D video from the Decklink or Ultrastudio video
outputs. The 3D palette in the Color page has the stereoscopic controls to select the stereo viewing options (Side by Side, Anaglyph, Line by Line, etc.), as well as adjusting the convergence and other stereoscopic parameters.
Converting Clips Between Stereo and Mono
You also have the option of converting clips between mono and stereo 3D using a pair of commands in the Media Pool.
Converting Stereo Clips Back to Mono
If necessary, you can split one or more stereo clips into mono clips using a single command.
1 Select one or more stereo clips in the Media Pool.
2 Right-click one of the selected clips and choose Split Stereo 3D Clips from the contextual menu.