< Previous | Contents | Next >
Ordinarily, all media imported into a project goes into the Master bin, which is always at the top of the Bin list and encompasses everything in a given project. However, you can add bins of your own, and the Media Pool can be organized into as many user-definable bins as you like, depending on your
needs. Media can be freely moved from one bin to another from within the Media Pool. When working in projects with multiple bins, you can choose to expose the bin structure in one of two ways:
![]()
— Bin list open: The Bin List button at the upper left-hand corner of the Media Pool lets you open a separate List view showing all bins in your project, hierarchically. Bins that contain other bins appear with a disclosure button to their left, that you can use to show or hide the contents. With the Bin list exposed, it’s easy to organize clips among a large collection of bins.
— Bin list closed: When the Bin list is closed, all bins are hidden, and contents of whichever bin is currently selected populate the Media Pool browser.
Showing Bins in Separate Windows
If you right-click a bin in the Bin list, you can choose “Open As New Window” to open that bin into its own window. Each window is its own Media Pool, complete with its own Bin, Power Bins and Smart Bins lists, and display controls.
This is most useful when you have two displays connected to your workstation, as you can drag these separate bins to the second display while DaVinci Resolve is in single screen mode. If you hide the Bin list, not only do you get more room for clips, but you also prevent accidentally switching bins if you really want to only view a particular bin’s contents in that window. You can have as many additional Bin windows open as you care to, in addition to the main Media Pool that’s docked in the primary window interface.
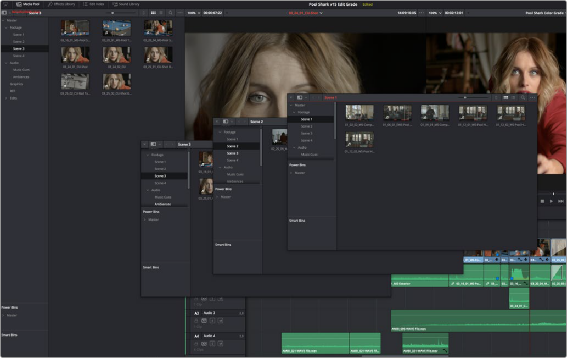
Media Pool bins opened as new windows