< Previous | Contents | Next >
![]()
The Viewer shows the frame at the current position of the playhead in the Timeline. The contents of the Viewer are almost always output to video via whichever I/O interface you have connected.
At the top of the Viewer is a header that displays the Project and Timeline names, as well as a Viewer Timecode display that shows the source timecode of each clip by default. The Timeline name is also a drop-down display that lets you switch to any other timeline in the project. A jog bar (sometimes referred to as a scrubber bar) underneath the image lets you drag the playhead across the entire
duration of the clip, while transport controls underneath that let you control playback. A toolbar at the top provides controls governing Image Wipes, Split-Screen controls, and Highlight display. Additional controls let you turn audio playback on and off, or adjust them by right-clicking on the speaker icon and dragging the slider. You can also choose which onscreen controls are currently displayed.
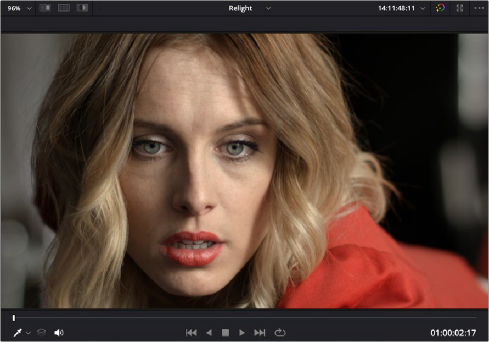
Viewer with transport controls
You can also put the Viewer into Cinema Viewer mode by choosing Workspace > Viewer Mode > Cinema Viewer (Command-F), so that it fills the entire screen. This command toggles Cinema Viewer mode on and off. Two other modes, Enhanced Viewer (Option-F) and Full Screen Viewer (Shift-F), are available to provide more working area for tasks such as window positioning and rotoscoping.
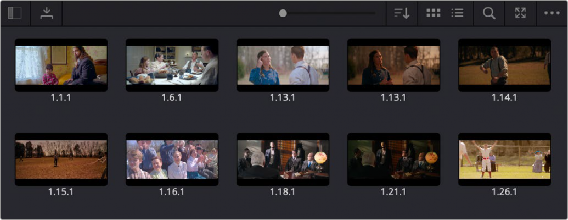
Gallery
The Gallery is used for storing still frames to use as reference when comparing clips to one another. Each still frame also stores that clip’s grade so you can copy it later; stills and grades are stored together. A button lets you open up the Album browser, used for organizing your stills. At the top of the Gallery, Memories let you store grade information that you can apply using a control panel or keyboard shortcuts. You can also open a larger Gallery window within the Color page that provides more room for organizing your saved stills and grades. For more information on the Gallery page, see Chapter 138, “Using the Gallery.”
![]()