< Previous | Contents | Next >
This chapter covers how to capture media from tape directly into the Media Pool in DaVinci Resolve. Whether you need to capture a handful of clips to incorporate into an existing project, or you need to recapture every clip corresponding to the events of an EDL, you can use the Media page in Capture mode to capture from any device-controllable deck via a compatible video interface.
![]()
— Click the Capture button, located to the left of the Interface toolbar at the top of the Media page.
The Media page updates to reflect the relevant controls for editing to tape, and the Audio panel is replaced by a dedicated set of capture metadata and controls to help you track the resulting clips.
The Tape Capture Interface
While in Capture mode, the Media page is used to control the VTR, in order to establish In and Out points for logging or capturing a selected range of the tape.
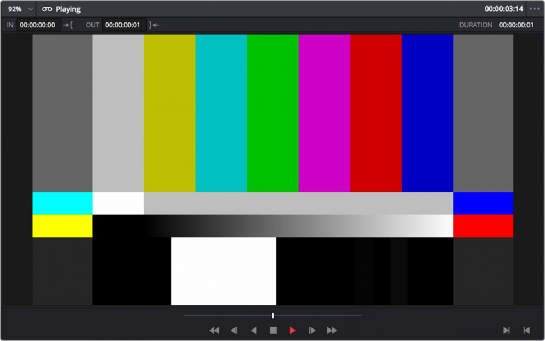
Tape Capture viewer in the Media page
— Transport controls: The transport controls, while similar in appearance to those used when simply playing through selected clips in the Media page, now work to control the VTR.
— Shuttle control: A shuttle control appears in what was formerly the scrubber bar, which lets you shuttle through the range of reverse and forward speeds compatible with the connected deck.
— In and Out controls: In Capture mode, the In and Out buttons to the right of the transport controls define a range of the tape from which to capture.
![]()