< Previous | Contents | Next >
— Edit Actions: The tools under this icon are used to adjust clips on the Timeline.
All of the Edit Actions functions
![]()
Tracks
The Timeline is divided into multiple tracks, with each track capable of holding a sequence of clips in order to create a program. The main tracks, which are labeled numerically, combine a clip’s video and audio into a single item in the Timeline, for simplicity. Editing the In or Out point of a clip edits the video and audio together.

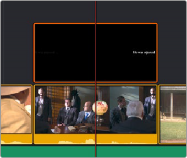
Cut Page Timeline tracks. Track ST1 shows a subtitle track. Track V1 shows both Video only and combined Video+Audio clips in an enlarged view. Track A4 shows a separate audio track.

TIP: In the Edit page, Video+Audio clips are presented as separated Video and Audio items on different tracks. When you open the Fairlight page, audio is presented on tracks with lanes, where each audio channel can be seen. In this way, each page gives you different sets of controls over the contents of the Timeline that are appropriate for each page.
TIP: In the Edit page, Video+Audio clips are presented as separated Video and Audio items on different tracks. When you open the Fairlight page, audio is presented on tracks with lanes, where each audio channel can be seen. In this way, each page gives you different sets of controls over the contents of the Timeline that are appropriate for each page.
TIP: In the Edit page, Video+Audio clips are presented as separated Video and Audio items on different tracks. When you open the Fairlight page, audio is presented on tracks with lanes, where each audio channel can be seen. In this way, each page gives you different sets of controls over the contents of the Timeline that are appropriate for each page.
Track Header Controls
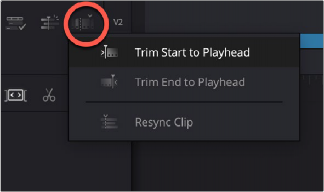
The track controls, in order, allow you to enlarge a track, lock the track for edits, mute audio, and enable or disable video for the track.

Controls to enlarge, lock, mute audio, and disable video for the track
The Importance of Track 1
Each track in the Timeline of the Cut page is designed to carry specific parts of your program. Track 1 is intended for the primary video+audio of your program, often called the “A-roll,” since these are the primary shots comprising the timing and pacing of the story you’re telling. Adding, deleting, inserting, trimming, or otherwise rearranging clips on Track 1 results in the rest of the edited timeline being automatically rippled to accommodate the change you’ve made, with clips to the right of the changed area moving left to fill the gap of a deleted or shortened clips, or moving right to make room for an inserted or lengthened clip.
Tracks 2 and Above
Tracks 2 and above are intended for “B-roll,” which is additional footage you stack on top of other clips in Track 1 to illustrate what someone is saying in the audio of Track 1, or for superimpositions used for compositing effects that combine two images together in creative ways. Moving or resizing clips on Track 2 and above only moves or resizes that one clip; other clips in the Timeline are not rearranged and the Timeline is not rippled when you do this.
![]()
For instances where multiple video clips overlap one another on multiple tracks, the video clip on the highest track obscures those on lower tracks, meaning that only the top clips appear during
playback. This is useful when you’re experimenting with rearranging multiple clips in a complex scene. For example, you could be editing a scene where an interview clip is on the bottom track, and various b-roll clips are edited on tracks above the interview so you can freely rearrange them in different ways, while it’s always easy to reveal the speaker on the bottom track by leaving a gap in the superimposed b-roll clips.
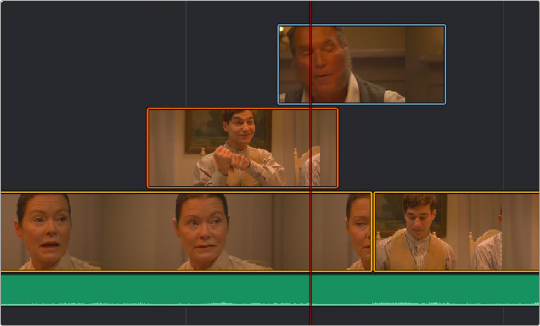
Editing a scene with multiple superimposed clips
However, if you superimpose video-only or video+audio clips for compositing, you can use the composite modes and the opacity slider found in the Composite section of the Viewer Tools controls to mix multiple images together in different ways for artistic effects.