< Previous | Contents | Next >
— You can scroll left and right through the Timeline, one “page” at a time at the current zoom level, by selecting Playback > Next/Previous > Timeline Page. If you use these often, you can assign them a keyboard shortcut.
— You can also scroll up and down the tracks of the Timeline using the scroll wheel, scroll ball, or scroll gestures of your mouse, trackball, trackpad, or other pointing device.
— You can also scroll within the Timeline by middle-clicking and dragging in any direction, which works the same as panning around a viewer that you’ve zoomed into. This frees you from having to use the scroll bars as you move around your edited clips.
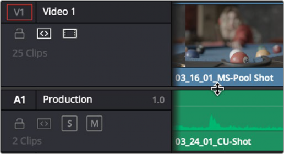
If you scroll past the position of the playhead, a small playhead indicator appears in the bottom scroll bar to let you know where it is relative to the entire duration of your edited sequence.
![]()
A small indicator shows the position of the playhead if it’s outside of
the visible area of the Timeline.
Scroll Wheel Controls on Timeline
Additional scroll wheel and key presses can be used to manipulate the Timeline on the Edit page.
![]()
— Shift: Expands or contracts all the Video or Audio track heights, depending on what section the pointer is located at when you scroll.
— Option: Zooms in and out the view of the Timeline.
— Command: Navigates forward and backward in the Timeline.
Resizing the Timeline’s Video and Audio Track Regions
If you need to see more of the video or audio tracks in the available area of the Timeline, you can drag the horizontal divider that separates the audio and video tracks up or down to create room where you need it.
Dragging the Timeline center divider to make more room for audio or video tracks