< Previous | Contents | Next >
3 To execute the edit, choose Edit > Ripple Overwrite, drag the clip to the Ripple Overwrite overlay of the Timeline Viewer, or press Shift-F10. As a result, the section of the timeline that was marked in step 1 is overwritten by the section of the source clip marked in step 2, and all clips to the right of this edit in the Timeline are rippled to the right to make room for the much longer source clip. The final result is an edit where the movements match nicely.

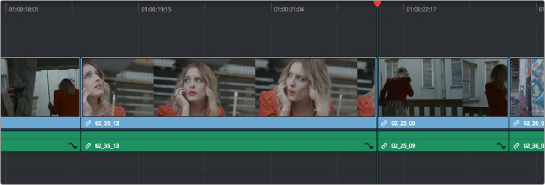
After the ripple overwrite, the part of the Timeline clip marked with In and Out points has been overwritten by the part of the Source clip marked with In and Out points, and all clips to the right of this edit in the Timeline are rippled left or right as necessary
Append to End
![]()
Append to end always puts the edited clip at the very end of the current Timeline. It’s a very useful edit type when you’re quickly stringing together a series of clips.
1 Set In and Out points in a source clip that you want to add to the end of the current Timeline. If necessary, change the sort order of the Media Pool to put these clips into the order in which you want them to be added to the Timeline.
2 Click the audio and video destination controls of the tracks you want to edit the incoming source clip onto. If necessary, create new tracks.
3 Choose Edit > Append to End of Timeline, drag the clip to the Append at end overlay of the Timeline Viewer, or press Shift-F12.
Incoming video clips are added after the very end of the last clip in the Timeline.
Insert Selected Clips to Timeline Using Timecode
Clips can be edited directly from the Media Pool into a timeline, such that each clip’s source timecode is aligned with an identical record timecode value in the Timeline. This can be useful for long form multi-camera events, like weddings or concerts, where all cameras are linked by the same timecode to ensure all edits are perfectly synced. This function matches the Source Overwrite edit on

IMPORTANT: The timecode of the Timeline must overlap the timecode of the clip(s) for this edit to function. This can be set in the Start Timecode field of the New Timeline settings.
IMPORTANT: The timecode of the Timeline must overlap the timecode of the clip(s) for this edit to function. This can be set in the Start Timecode field of the New Timeline settings.
IMPORTANT: The timecode of the Timeline must overlap the timecode of the clip(s) for this edit to function. This can be set in the Start Timecode field of the New Timeline settings.
the Cut page.