< Previous | Contents | Next >
When you perform a multicam edit, DaVinci Resolve plays the entire audio mix while you’re editing, so if you want to take the opportunity to edit a master audio mix file or additional piece of music to play along with the multicam clip, you can do so.
Opening and Altering Multicam Clips
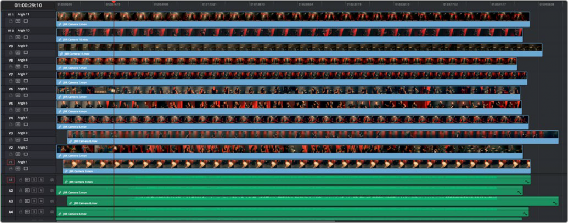
After you’ve created a multicam clip and put it into a timeline, you can modify it in a variety of ways by right-clicking it in the Media Pool and choosing “Open in Timeline.” This replaces the contents of the Timeline with a vertical stack of superimposed angles, one per track, each of which is offset from the beginning of the Timeline to align with one another.
![]()
An open multicam clip appears like a timeline with a vertical stack of clips
With the multicam clip open, you can make a variety of changes in preparation for editing:
— You can slide a multicam clip left or right to alter its sync (selecting an angle and using the Period (.) and Comma (,) “nudge” keyboard shortcuts can be a good way of doing this).
— You can delete the track of an angle you don’t need (right-click the track header and choose Delete Track).
— You can rearrange tracks to rearrange the order in which angles appear (right-click any track header and choose Move Track Up or Move Track Down).
— You can rename tracks to change the angle name that appears by default in the Multicam Viewer and that will also appear in the Timeline when you do cut and switch editing.
— You can disable audio or video tracks that correspond to angles you don’t want to see, but don’t want to eliminate, either.
— You can grade each multicam angle separately (discussed later in this section).
When you’ve finished altering the contents of the multicam clip, you can close it using the path control at the bottom left-hand corner of the Timeline. Click the name of the edited timeline to go back, in preparation for the next steps.
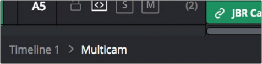
A path control lets you exit the multicam clip