

< Previous | Contents | Next >
Composite Modes and Transparency Effects
Composite modes are effects that use various mathematical operations to combine one superimposed clip with another, relying on standard image processing math for each color channel whereby black pixels have a value of 0, white pixels have a value of 1, and descending levels of gray are represented by decimal point values (for instance, 0.5 represents 50% gray). When using composite modes to blend two clips together on the Timeline, the three color channels of each pair of pixels are combined using that particular composite mode’s math. The results can create transparency effects, increase image exposure, and combine multiple images in many creative and useful ways.
![]()
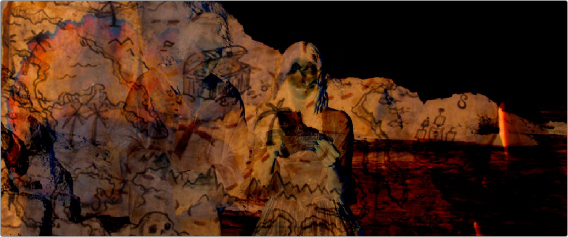
Two source clips combined with the Subtract composite mode
When using composite modes, it’s easy to push parts of the resulting image above the maximum or below the minimum values for brightness. However, this image data is not clipped, even through such areas of the picture may appear flat white or black. Out-of-range data as a result of a composite mode effect is preserved, and may be retrieved by later image processing operations in the Color page.
When you import XML project files, DaVinci Resolve imports whatever composite modes were used by clips in the original sequence. If necessary, you can then change a clip’s composite mode to one that will work better with whatever grade you’re creating. Of course, you can also add composite modes to clips that didn’t originally have them, adding new effects of your own.
All composite modes interact with the Opacity slider (found below the Composite Mode pop-up menu in the Inspector) to make a clip more or less transparent in addition to compositing already being done.