< Previous | Contents | Next >
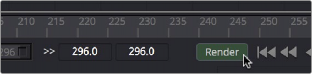
8 When you’re finished creating your effect in Fusion, click the Render button to open the Render Settings, check to make sure that the settings are correct, and click Start Render. This renders the Fusion composition to the disk location and using the name that you chose in step 3.
Selecting two clips to send to Fusion
9 A Render Settings dialog appears, which lets you choose how you want to render the output, with options including the Quality, Frame Range, and Size of the media being output. If the default settings are good, click Start Render. A progress bar indicates how long the render will take.
For more information, consult the Fusion User Manual.
10 Once rendering has finished, save your Fusion project, reopen DaVinci Resolve, and you should see that the VFX Connect clip in the Timeline has updated to show the new effect you created in Fusion.
![]()
How Clips are translated into Node Trees
In Fusion, each clip that you send appears as a Loader node that is linked to that clip’s media on disk. If you selected multiple clips, each clip is superimposed over the one just below it using a Merge node, which lets you merge two images at a time with an Over operator by default.
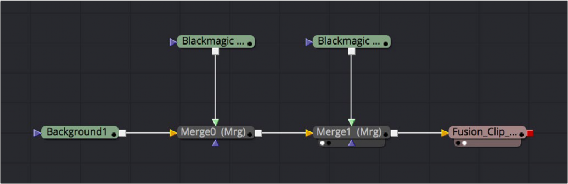
Two superimposed clips sent to Fusion as represented in the Fusion node tree
With this as your starting point, you can add nodes (called Tools in Fusion) to apply operations of your own, in order to create more sophisticated effects and composites. For more information about using Fusion, see the Fusion User Manual, available from the Support page at the Blackmagic Design web site.