< Previous | Contents | Next >
Animating with Different Spline Types
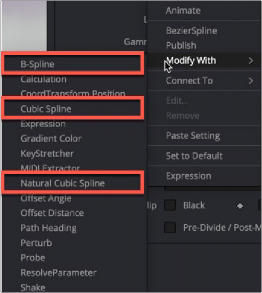
A Bézier spline is the default spline unless changed in the Preferences. However, if you want to use a spline type other than Bézier for the animation curve, you can choose the spline type from the Modify With contextual submenu before creating any keyframes.
Three spline types in the Modify With menu
![]()
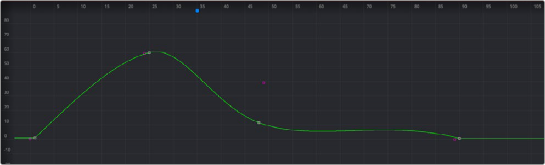
— Bézier Spline: Bézier splines are the default curve type. Three points for each keyframe on the spline determine the smoothness of the curve. The first point is the actual keyframe, representing the value at a given time. The other two points represent handles that determine how smoothly the curve for the segments leading in and out of the keyframe are drawn. Bézier is the most used spline type because Bézier splines allow you to create combinations of curves and straight lines.
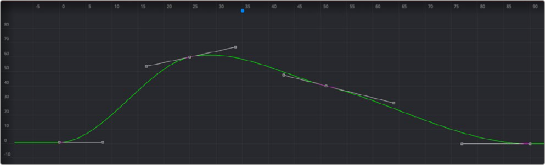
Bézier spline
— Modify with > B-Spline: B-splines use a single point to determine the smoothness of the curve. Instead of using handles, a single control point determines the value as well as the smoothness of the curve. Holding down the W key while dragging left or right on the control point adjusts the tension of the curve.
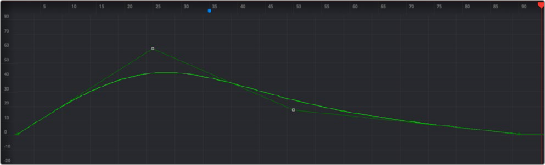
B-spline
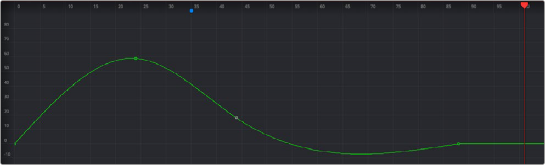
— Modify with > Cubic Spline: Cubic splines are similar to Bézier splines, in that the spline passes through the control point. However, Cubic splines do not display handles and always make the smoothest possible curve. In this way, they are similar to B-splines. This spline type is almost never used.
![]()
Cubic spline
— Modify with > Natural Cubic Spline: Natural Cubic splines are similar to Cubic splines, except that they change in a more localized area. Changing one control point does not affect other tangents beyond the next or previous control points.
Natural Cubic spline