
< Previous | Contents | Next >
If you’re viewing the Merge, the text appears in the viewer superimposed against the background clip. Onscreen controls appear that let you rotate (the circle) and reposition (the red center handle and two arrows) the text, and we can see a faint cursor that lets us edit and kern the text using other tools in the viewer toolbar.
Text that’s been typed into the viewer, with onscreen text transform controls
Styling and Adjusting Text
![]()
To style the text, you use the controls in the Inspector, modifying text style controls such as Font, Size, and Tracking to change the spacing between the letters.


TIP: Holding down the Command key while dragging any control in the Inspector “gears down” the adjustment so that you can make smaller and more gradual adjustments.
TIP: Holding down the Command key while dragging any control in the Inspector “gears down” the adjustment so that you can make smaller and more gradual adjustments.
TIP: Holding down the Command key while dragging any control in the Inspector “gears down” the adjustment so that you can make smaller and more gradual adjustments.
The restyled text
Selecting the Manual Kerning tool in the viewer toolbar (second tool from the left) reveals small red dots underneath each letter of text.
The Manual Kerning tool in the viewer toolbar
Clicking a red dot under a particular letter puts a kerning highlight over that letter.
1 Option-drag the red dot under any letter of text to adjust that character’s kerning while constraining letter movement to the left and right. You can also drag letters up and down for other effects. Depending on your system, the kerning of the letter you’re adjusting might not update until you drop the red dot in place.
![]()
2 If you don’t like what you’ve done, you can open the Advanced Controls in the Inspector and clear either the kerning of selected letters or all manual kerning before starting over again.
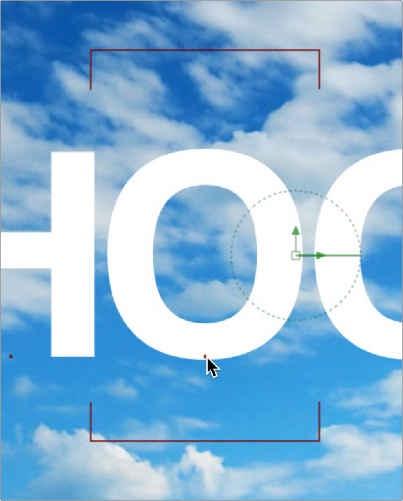
Option-dragging the little red dot revealed by the Manual Kerning tool to manually adjust kerning