
< Previous | Contents | Next >
Green-Screen Composite
Taking another step forward in compositing, the next example shows how you can equate a multilayered Timeline like the one in DaVinci Resolve’s Edit page to nodes in Fusion’s node tree. We’ll use DaVinci Resolve, but understanding how layers map to nodes can be helpful for anyone new to dealing with a node-based interface. In this example, we’ll create a simple composite using a green- screen key and two other layers to create a news story.
Mapping Timeline Layers to Nodes in Fusion
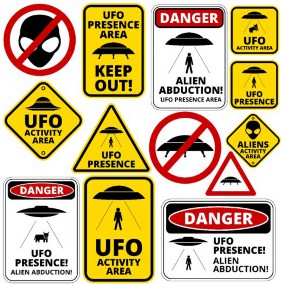
This composite involves three layers in a Timeline. The Timeline consists of a background graphic on video track 1, a green-screen clip on video track 2, and a foreground graphic on video track 3.

![]()
Background on video track 1 (top left), green-screen clip on video track 2 (bottom), and graphic file on video track 3 (top right)

TIP: If using DaVinci Resolve, you can bring all three layers from the Edit page into Fusion by creating a Fusion clip. For more information on creating Fusion Clips, see Chapter 65, “Getting Clips into Fusion.” in the DaVinci Resolve Reference Manual or Chapter 3 in the Fusion Reference Manual.
TIP: If using DaVinci Resolve, you can bring all three layers from the Edit page into Fusion by creating a Fusion clip. For more information on creating Fusion Clips, see Chapter 65, “Getting Clips into Fusion.” in the DaVinci Resolve Reference Manual or Chapter 3 in the Fusion Reference Manual.
TIP: If using DaVinci Resolve, you can bring all three layers from the Edit page into Fusion by creating a Fusion clip. For more information on creating Fusion Clips, see Chapter 65, “Getting Clips into Fusion.” in the DaVinci Resolve Reference Manual or Chapter 3 in the Fusion Reference Manual.
Implied in a timeline-based system is that higher numbered video tracks appear as the more forward, or frontmost, element in the viewer. Video track 1 is the background to all other video tracks. Video track 3 is in the foreground to both video track 1 and video track 2.
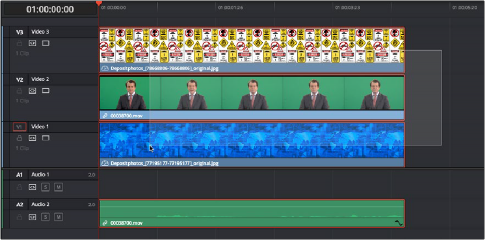
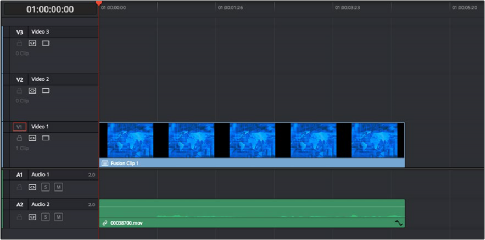
A stack of clips to use in a composite (top), and turning that stack into a Fusion clip in DaVinci Resolve’s Edit page (bottom)
![]()
In Fusion, each video clip is represented by a MediaIn in the Fusion page or a Loader in Fusion Studio.
In our example below, the MediaIn2 is video track 2, and MediaIn 1 is video track 1. These two elements are composited using a Merge node (foreground over background, respectively). The composite of those two elements becomes the output of the first Merge node, which becomes the background to a second Merge. There is no loss of quality or precomposing when you chain Merges together. MediaIn3 represents video track 3 and is the final foreground in the node tree since it is the topmost layer.
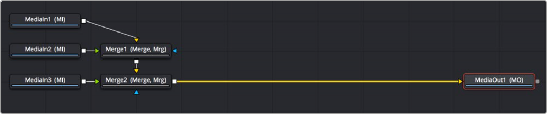
The initial node tree of the three clips we turned into a Fusion clip
With this node tree assembled to mimic the video layers, we can focus the rest of this example on adding the nodes we’ll need to each branch of this tree to create the green-screen composite.