< Previous | Contents | Next >
3D Compositing Fundamentals
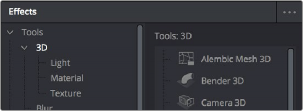
The 3D category of nodes (which includes the Light, Material, and Texture subcategories) work together to create 3D scenes. Examples are nodes that generate geometry, import geometry, modify geometry, create lights and cameras, and combine all these elements into a scene. Nearly all these nodes are collected within the 3D category of nodes found in the Effects Library.
The 3D category of nodes in the Effects Library
Conveniently, at no point are you required to specify whether your overall composition is 2D or 3D, because you can seamlessly combine any number of 2D and 3D “scenes” together to create a single output. However, the nodes that create these scenes must be combined in specific ways for this to work properly.
Creating a Minimal 3D Scene
![]()
Creating a 3D scene couldn’t be easier, but you need to connect the required nodes in the right way. At minimum, you need only connect a geometry node (such as a Text3D node) to a Renderer3D node to output a 2D image that can be combined with other 2D images in your composition, as seen below. However, you’ll only get a simply shaded piece of geometry for your trouble, although you can color and transform it in the Inspector using controls internal to whichever geometry node you’re using.
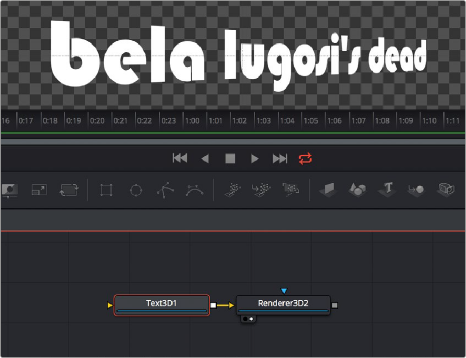
A simple 3D scene with a Text3D node connected directly to a Renderer3D node
More realistically, each 3D scene that you want to create will probably have three to five nodes to give you a better lit and framed result. These include:
— One of the available geometry nodes (such as Text3D or Image Plane 3D)
— A light node (such as DirectionalLight or SpotLight)
— A camera node
— A Merge3D node
— A Renderer3D node
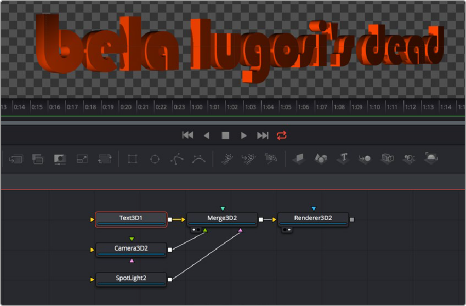
All these should be connected together as seen below, with the resultantly more complex 3D scene shown below.
![]()
The same text, this time lit and framed using Text3D, Camera, and SpotLight nodes to a Merge3D node
To briefly explain how this node tree works, the geometry node (in this case Text3D) creates an object for the scene, and then the Merge3D node provides a virtual stage that combines the attached geometry with the light and camera nodes to produce a lit and framed result with highlights and shadows, while the aptly named Renderer3D node renders the resulting 3D scene to produce 2D image output that can then be merged with other 2D images in your composition.
In fact, these nodes are so important that they appear at the right of the toolbar, enabling you to quickly produce 3D scenes whenever you require. You might notice that the order of the 3D buttons on the toolbar, from left to right, corresponds to the order in which these nodes are ordinarily used. So, if you simply click on each one of these buttons from left to right, you cannot fail to create a properly assembled 3D scene, ready to work on, as seen in the previous screenshot.
![]()
The 3D nodes available from the toolbar include the ImagePlane3D, Shape3D, Text3D, Merge3D, Camera3D, SpotLight3D, and Renderer3D nodes