< Previous | Contents | Next >
For more information on using qualifiers, see Chapter 134, “Secondary Qualifiers.”
Balancing Scenes
It’s rare when the uncorrected shots of a scene match one another perfectly. Even the most carefully exposed angles of coverage can have small variances that need to be evened out. On the other end of the spectrum, run-and-gun programs using available light often result in edited scenes with huge changes in lighting and color as each shot cuts away to the next.
Small or large, unintended variations from one shot to the next can call undue attention to the editing, and jar the audience’s attention in ways that throw them out of the program. Evening out these differences and balancing the clips in each scene to match is another of the fundamental tasks of
the colorist. You know you’re finished when the color in the scene flows unnoticeably from one clip to the next.
DaVinci Resolve has a variety of tools that you can use to help you compare images with one another, the most important of which is the Gallery, in which you can save still images of clips that you can then compare to other clips using an adjustable split screen.
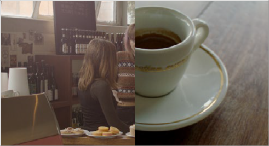
![]()
Timeline thumbnail view of unbalanced clips

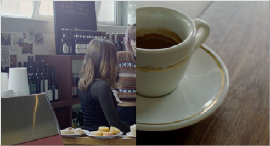
Thumbnail view of balanced clips
By using the Gallery to play stills, either split or whole (flipping back and forth between the clip you’re adjusting and the still), it becomes easier to use the extensive DaVinci Resolve toolset to match the color and exposure of every clip in a scene.