< Previous | Contents | Next >
Adding Default Anchors to the Custom Curves
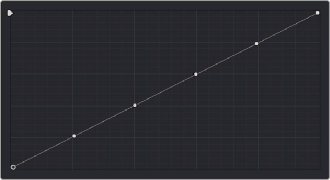
You can also choose Default Anchors from the option menu of the Curve palette in Custom mode to place three additional control points on the curve, dividing the curve into five segments that affect the shadows, low midtones, medium midtones, high midtones, and highlights of the image.
Custom curve with Default Anchors exposed
Ganging and Unganging Custom Curves
By default, the Custom curves are ganged, so that curve adjustments affect a clip’s YRGB channels all together, resulting in an adjustment to image contrast that’s similar to using the Master Wheels in the Color Wheels palette. When making this type of adjustment, increasing contrast also increases image saturation, while reducing contrast also reduces image saturation. Since curves can be manipulated with greater specificity than the three Master Wheels, you can make much finer contrast adjustments using the YRGB curves than when using the Master Wheels only.
![]()
Turning ganging off lets you use the full power of Custom curves to alter the image. Unlike the Color Balance controls, each of which adjust all three color channels simultaneously, the Curve controls let you adjust each channel individually when Gang Custom Curves is turned off.
— Click the Curve Edit button that corresponds to the curve channel you want to edit. Clicking any Curve Edit button highlights that curve to make it easy for editing when curves overlap one another. Once one or more curves is offset from the others, you can freely edit any curve by dragging its control points.

Custom Curve Edit buttons are to the left, the Gang button is to the right