< Previous | Contents | Next >
— Input list: A list of every input that’s connected to the Key Mixer. Each entry on the list has the following controls:
— Input name: The name of each node connection attached to that key mixer, such as Input Link 1, Input Link 2, and so on.
— Input invert: Inverts the key being fed into this particular input. Off by default.
— Input mask: Lets you switch the key input between Matte and Mask modes. In Matte mode (on) the key input combines via intersection with other inputs connected to the Key mixer. In Mask mode (off by default), the key input is added to the other key inputs connected to the Key mixer.
— Gain parameter: Decreases or increases the intensity of that input matte’s contribution to the resulting output matte.
— Offset parameter: Adjusts the contrast of that input matte’s contribution to the resulting output matte.
— Output invert: Inverts the overall result of the various Input Link interactions.
— Gain: This parameter increases or reduces the strength of the resulting output key. Setting Gain to 0 results in all inputs being set to black, while the default setting of 1.00 outputs the combined mattes at full strength. The maximum setting of 2.00 increases the intensity of any part of the key output that’s less than 100 percent white, which can have the practical effect of “growing” soft edges. You can also use this parameter to keyframe the key output to fade that node’s contribution in or out with one set of keyframes.
— Offset: Lets you adjust the contrast of the Output key.
The Many Uses of Key Output Gain
![]()
Several of the techniques discussed in here and in “Secondary Qualifiers,” can be further customized using the Key Output Gain parameter, which makes it easy to control the strength of a node’s effect on your grade with a single adjustment. In the following example, two simple Serial nodes are applied to a clip, with the first one expanding image contrast, and the second one using a variety of controls to add some extreme warmth to the highlights.
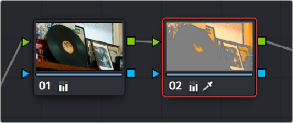
A tint applied only to the highlights of the image
If you decided that you want to reduce the amount of warmth added by the second node without readjusting the controls you used to create the effect, you could open the Key palette and lower the Key Output Gain parameter to fade the effect with a single adjustment.
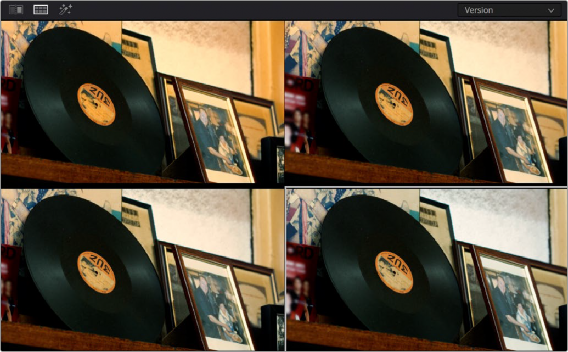
Four versions of this grade shown using the Versions option of the Split Screen controls, with Output Gain set to 1, .75, .5, and.25 for comparison
![]()
This principle also works for controlling the strength of individual nodes that are being combined in parallel, that are combined using the Layer node, or for simply fading out the effect of any node in the node tree you want to “turn down” a bit.