< Previous | Contents | Next >
Keyframed Nodes Have a Badge
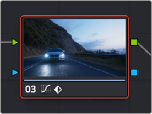
Nodes with keyframed parameters display a keyframe badge in the Node Editor, to make them easy to find. Note that keyframe badges won’t appear when you simply add a keyframe but only once there’s an actual keyframed adjustment being made.
Keyframed nodes display a badge in the Node Editor.
Using Specific Keyframing Tracks
If you’re simply using the Color mode of the All/Color/Sizing command to do keyframing, then you’ll be adding keyframes to every parameter of the currently selected node whenever you apply a single keyframe. However, often that’s overkill in situations where you only need to keyframe a single setting or group of settings.
For example, you may find that you need to keyframe a color adjustment in order to change the color temperature and brightness when the camera pans across a window, but you don’t want to keyframe the Windows palette controls because you want to adjust them independently. This can be done by opening a Corrector track to expose the keyframing tracks within.
![]()
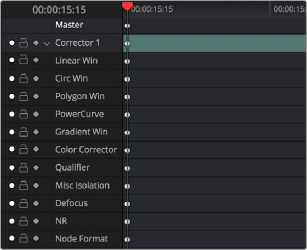
Individual keyframing tracks within a Color Corrector node
Keyframing tracks let you keyframe different sets of similarly functioning parameters separately from one another. For example, there’s one keyframing track for all the color adjustment parameters, and another keyframing track governing the parameters found within the Qualifier palette.
— Click the disclosure triangle next to the number of the node you’re keyframing.